Monday, December 21, 2015

Today

Well, in the middle of all this holiday fun, my entire household has been fighting off not one, but two rounds of sickness! Yuck. So of course, my blogging, productivity, and enthusiasm has been a little lacking in pretty much everything. I actually was the lone survivor for round one, but having lost loads of sleep while comforting sick children in the middle of night I think my immune system took a dive and fell during the second invasion. Long story short- I've basically been operating in survival mode since Thanksgiving.

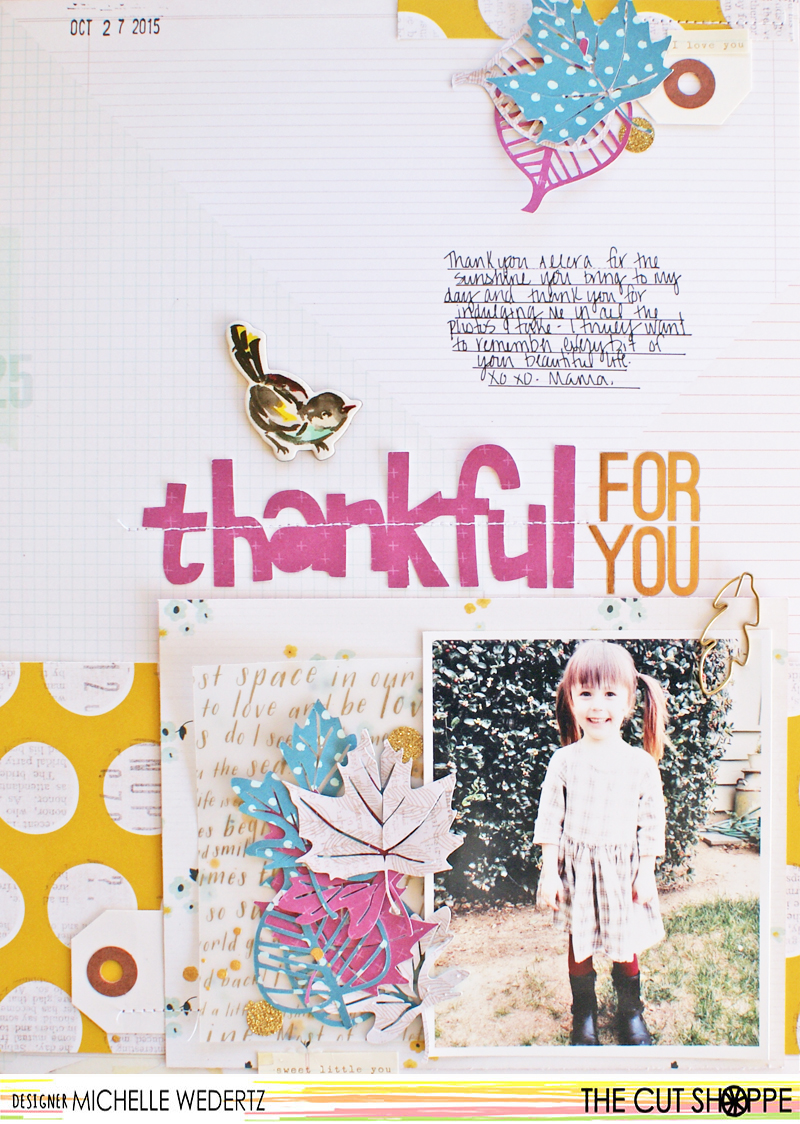
During the first wave of illness though, I was feeling fine and found some time to make things (Yay!) like this next layout featuring a photo from one of my walks with the dog and Allora:


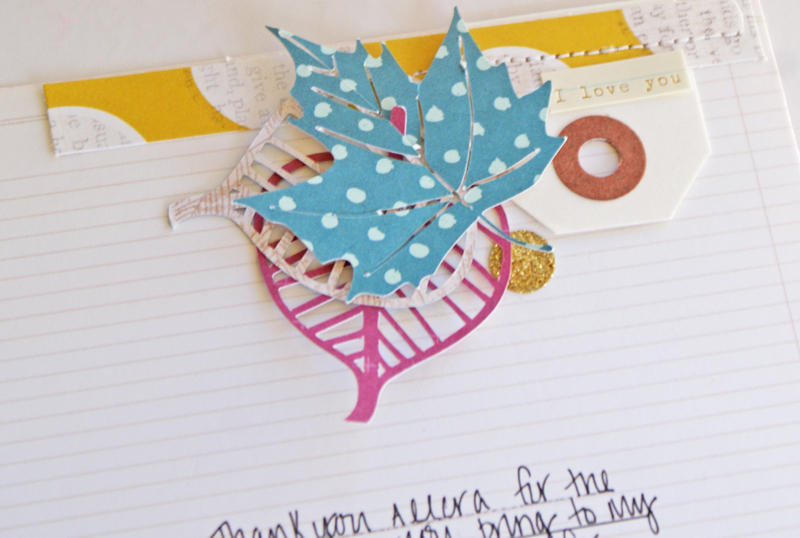
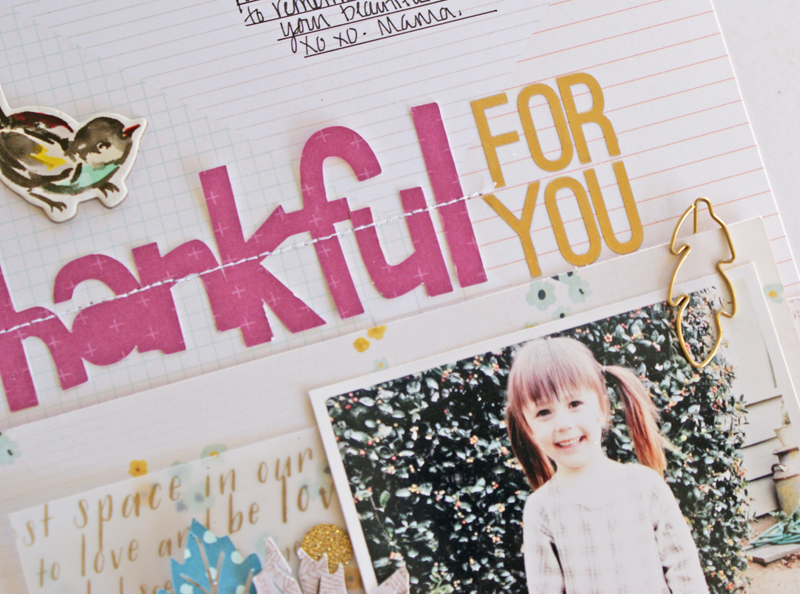
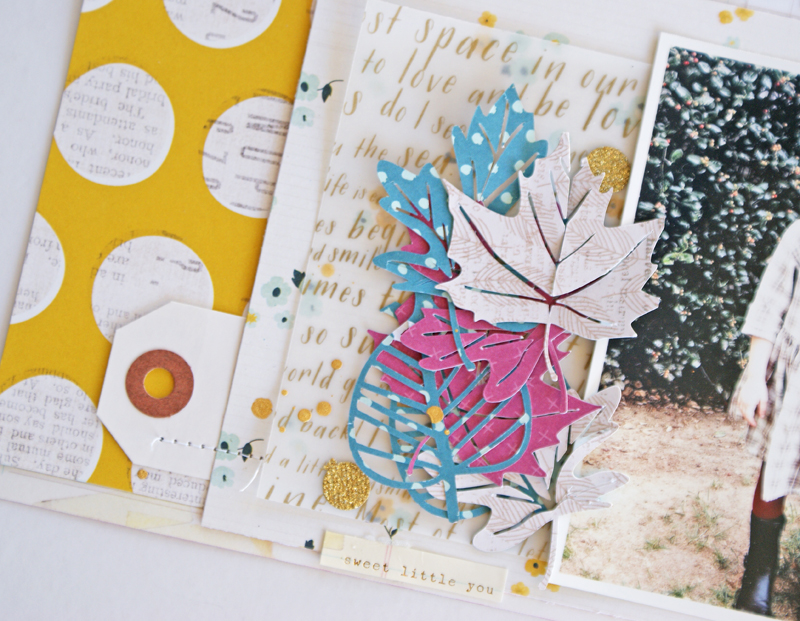
This layout was inspired by a recent Sketch Challenge at Studio Calico and I was super happy to find the time to play along. Here's a close up:


This was a fun picture to scrap. You see, when I walk the dog, I am usually pushing a jogging stroller. People laugh at me sometimes. My own grandpa admitted to doing this one day when he passed me by. What?? Yes, I know my hands are pretty full and my dog could probably make the claim that he is walking me, but I handle it and apparently entertain people as I do it! I also quite enjoy it and I try to remember to take pictures whenever I feel inspired by the movement or the scenery.  

In other news, I have been working pretty steadily on my December Memories album.  I had grand plans of sharing photos here on the blog, but I think that ship has sailed and am instead going to share those pages on Instagram. If you want to check them out, I am at @michellewedertz!

Wishing you a great day!

Michelle


Saturday, December 19, 2015

The Cut Shoppe: Snow Day

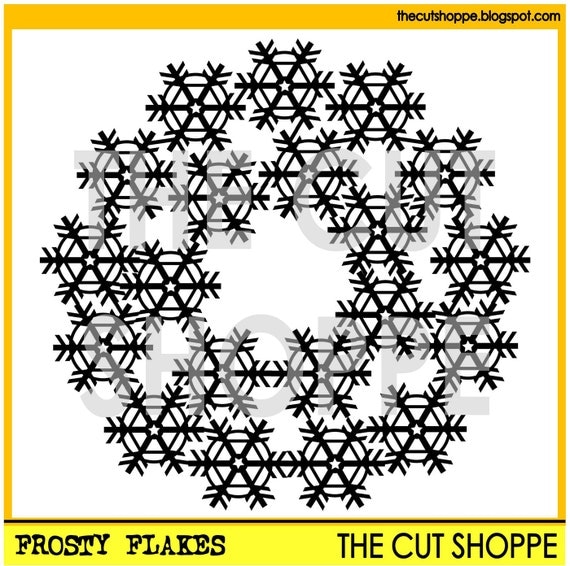
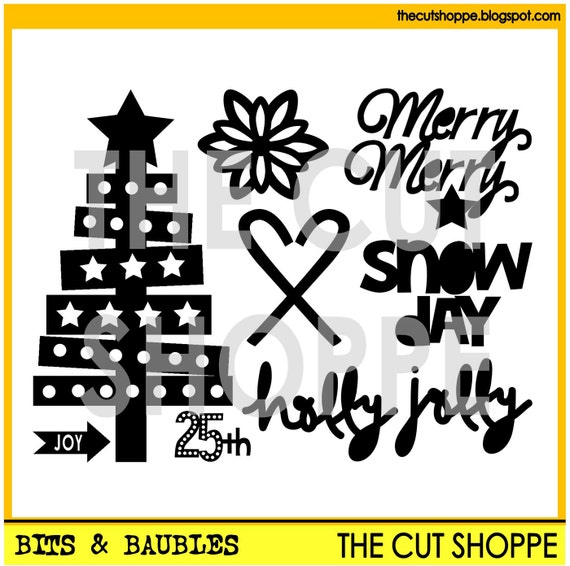
Hello! Michelle here with you today to share a new layout where I used both the new Frosty Flakes and Bits and Baubles cut files that recently became available in The Cut Shoppe.

The Frosty Flakes cut file is a background cut file, that can be used for your scrapbooking and papercrafting projects.

The Bits & Baubles cut file set includes 8 Christmas themed icons, that can be used for your scrapbooking and papercrafting projects.

When beginning my project, I first cut the Frosty Flakes cut file out of white cardstock with the intention of layering it over a matching white background. This is one of my go to techniques because it adds interest in a simple way. However, as I was playing around with placement, I decided I really liked it as a layering element and thought it would be super fun to have all the snow flakes peaking out from behind my photo. With that decision made, here is what I created:


My daughter's neutral colored photo really opened up the gates for picking a color combination to use. I ended up using patterned paper from the very pretty Hello, Love Collection from Crate Paper as well as the Goldie Collection from Seven Paper. The floral paper was by far my favorite and I ended up layering it underneath the snowflake.


I chose to cut the "Snow Day" title out of a black patterned paper to create some contrast against the lighter colors. 


Don't forget, The Cut Shoppe is passing on the savings to you all month long with a discount to save 31% off your purchase:

https://www.etsy.com/shop/TheCutShoppe

Wishing you a happy holiday!

Michelle

Tuesday, December 15, 2015

Gossamer Blue: November Blog Hop

GB Blog Hop Banner

Welcome to my stop on the December Gosssamer Blue Inspirational Blog Hop!

I know that the "kit world" moves pretty fast and when most of you are receiving your kits the design team is receiving the next month's kit which means sneaks of the new kits start happening.

At Gossamer Blue we know that can be pretty overwhelming, so we've come up with a solution-each month on the 15th we are going to inspire you just as you are receiving your kits!

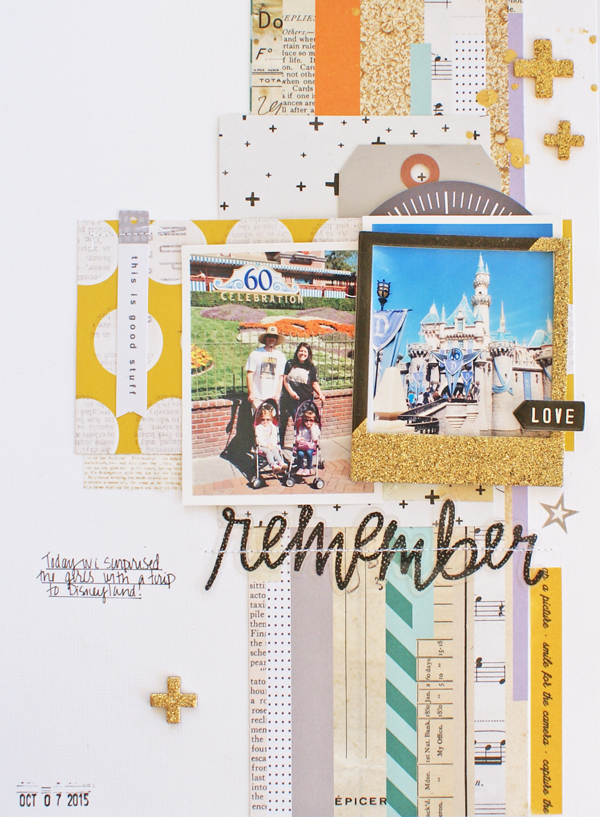
This month the December Kits were pretty fantastic and I truly had so much fun creating with them. Today I want to share a brand new layout made with a mix of the December Kits:

Remember3

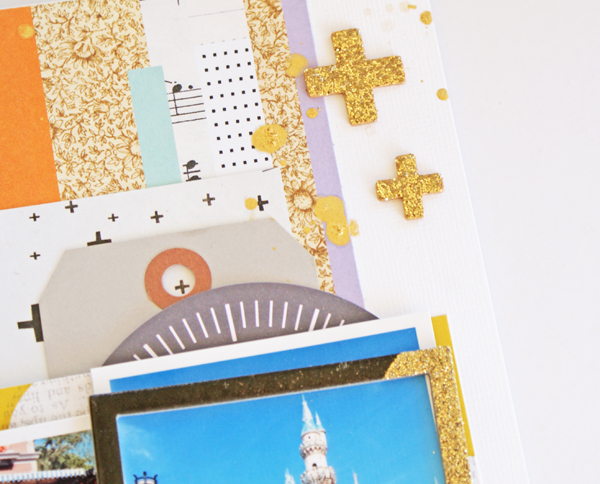
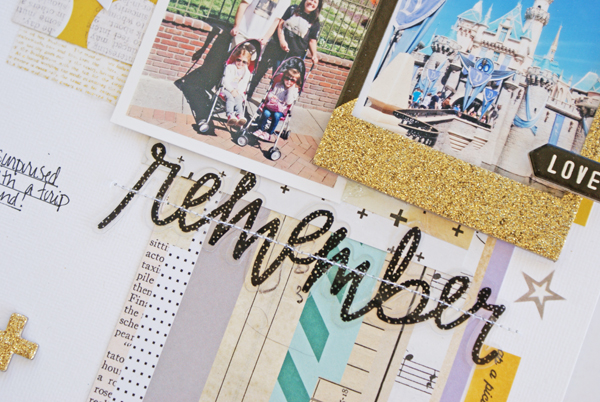
The Pink Paislee papers (the colorful stipes and yellow polka dots) are probably in my top five on my list of fave patterned papers from this past release. The colors just go with everything and I have been using them everywhere. Here are some closeups:

Remember4

Remember5

Now as much as I hope I have inspired you to drop everything and get those December Kits out, I want to encourage you to continue working your way through the hop because there is an amazing amount of talent in today's line up and I wouldn't want you to miss a thing! Here are the links:

Michelle Wedertz <---You are here.


Thanks for stopping by!

Michelle

Thursday, December 10, 2015

Elle's Studio: December Reveal

Hello! Today is the 10th and that means it is time for the reveal of a new exclusive kit from Elle's Studio! This month the kit is full of cards and tags that will not only help you scrap the holidays, but will also help you welcome in the new year! For today only, you can get the kit for $9.99 plus shipping. After today the kit price will be $11.99.  Here is a look at the kit and other exclusive goodies:


EllesStudio-Dec-Kit1web


EllesStudio-DecDigitals


And because it's the holidy season, Elle's Studio brought back their free shipping speacial:

EllesStudio-Dec-freeship 

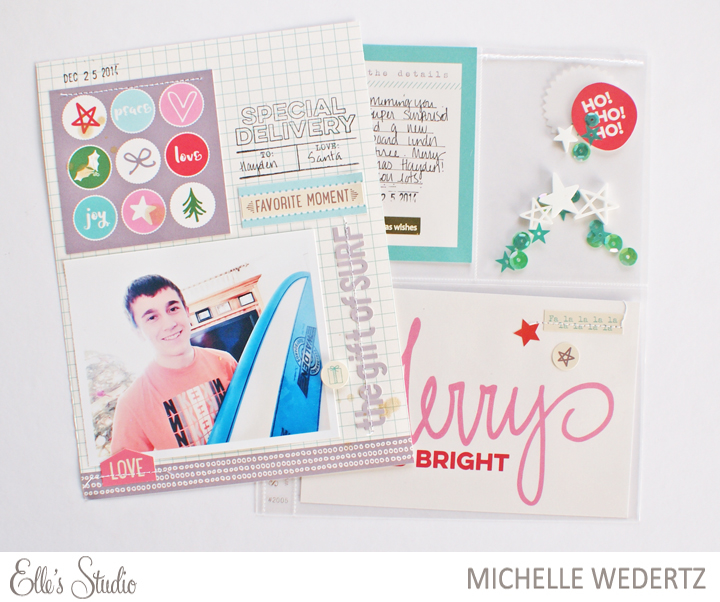
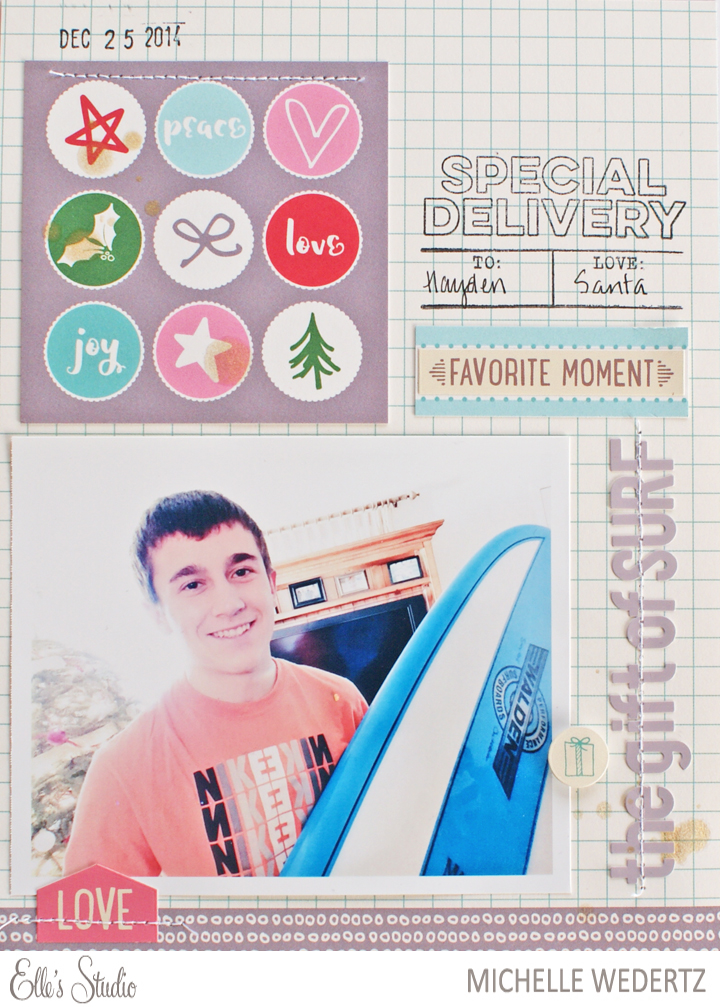
This month I switched up my scrapping and created a both a 6x8 layout and some pockety pages:

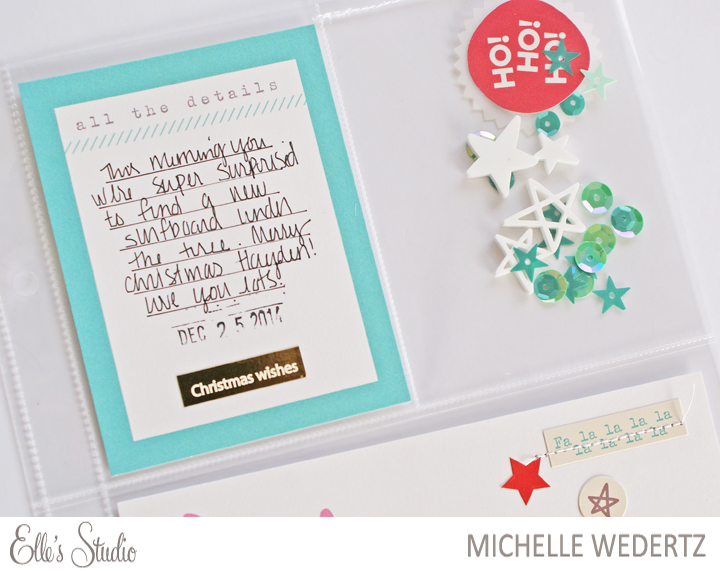
GiftofSurf

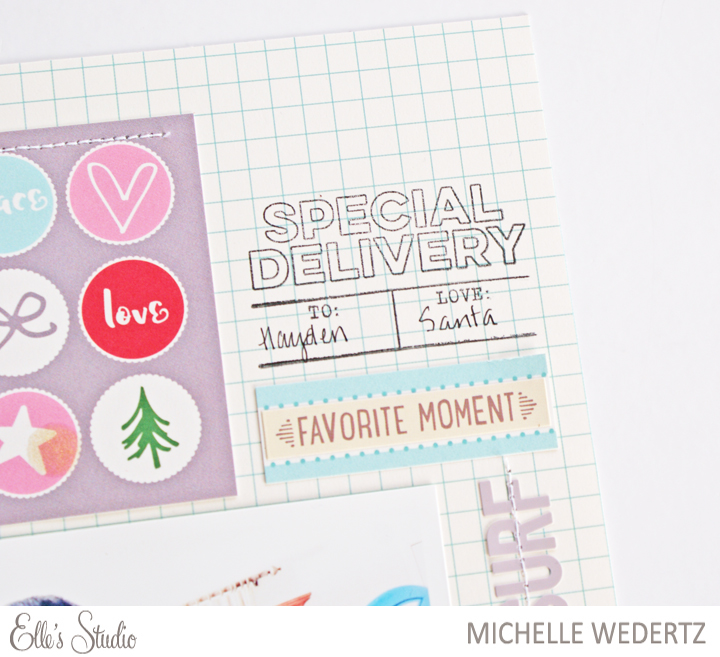
I had planned on doing just a single traditional page, but I ended up using the stamp where I had wanted the journaling to go. To adjust for this I added in an adjacent pocket page, which not only gave me the needed room to tell the story, but also let me play in with more of the December goodies!

GiftofSurf2

GiftofSurf3
\\
GiftofSurf5

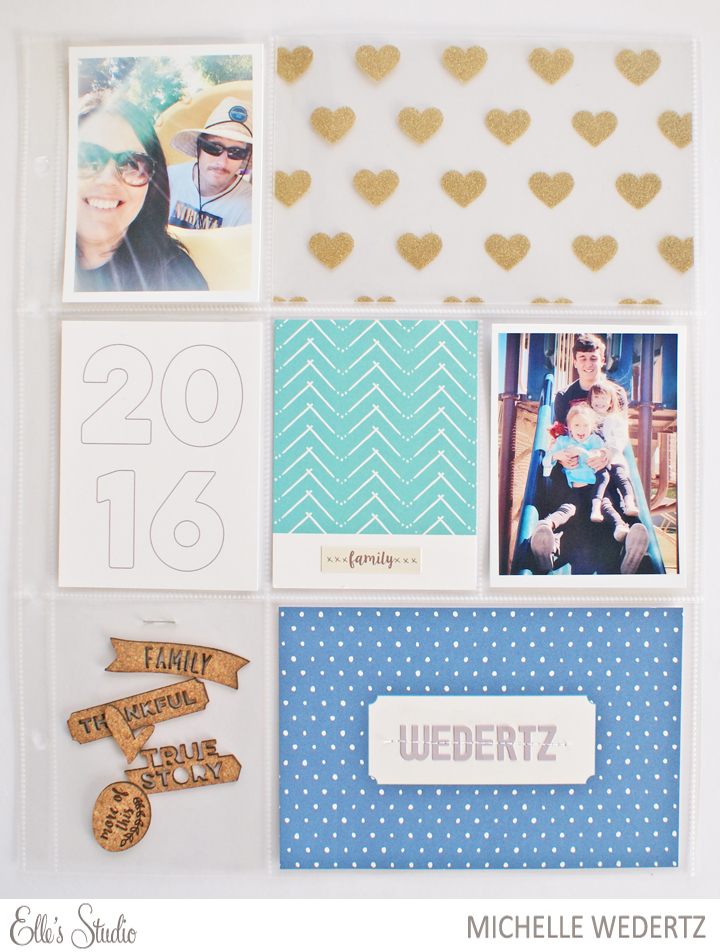
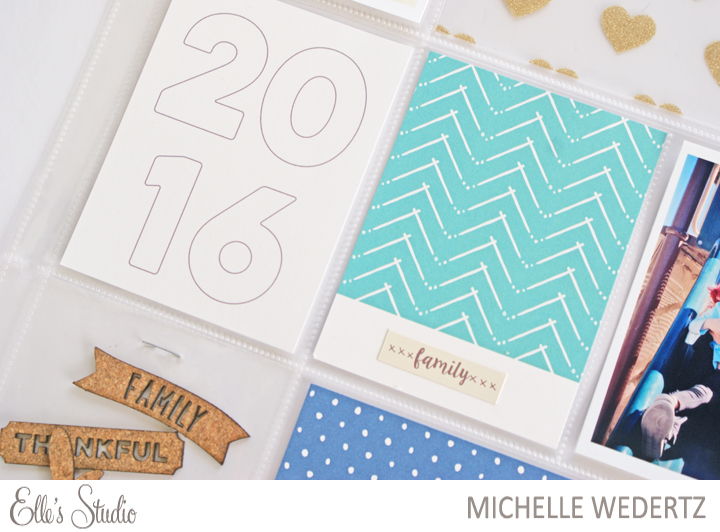
For my second project, I went ahead and totally jumped the gun and created my title page for my 2016 album!

2016 

To compliment the two 3x4 journaling cards from the kit, I pulled out the Thankful collection.

2016-3

To see even more projects using this month's kit, head on over to the gallery!

Michelle

Friday, December 4, 2015

Citrus Twist Kits: December

Hi all! Today I want to share my projects made with the December Kits from Citrus Twist!  This month I actually had a super easy time creating, even with the hectic schedule of the holidays and the round of sickness that made its way through our house, and its all down to how fantastic the kits were!

The kits for this last month of the year are a mix of products from companies such as Crate Paper, Seven Paper, and Basic Grey. That last one-Basic Grey-was a surpise hit for me. I really haven't been too aware of what they released this past year, but every time something of theirs finds its way into a kit, even if it is just paper, it's pretty fantastic. I will definitely have to put them on my radar for the next wave of releases......

As I said earlier, I worked with "kits," which include the Scrapbook Main Kit, Embellishment Kit, Sprinkles Kit, and the Pattern Play #1 Kit. You can see photos of the kits in full HERE.

Now for my projects! Up first is my Main Kit only layout:

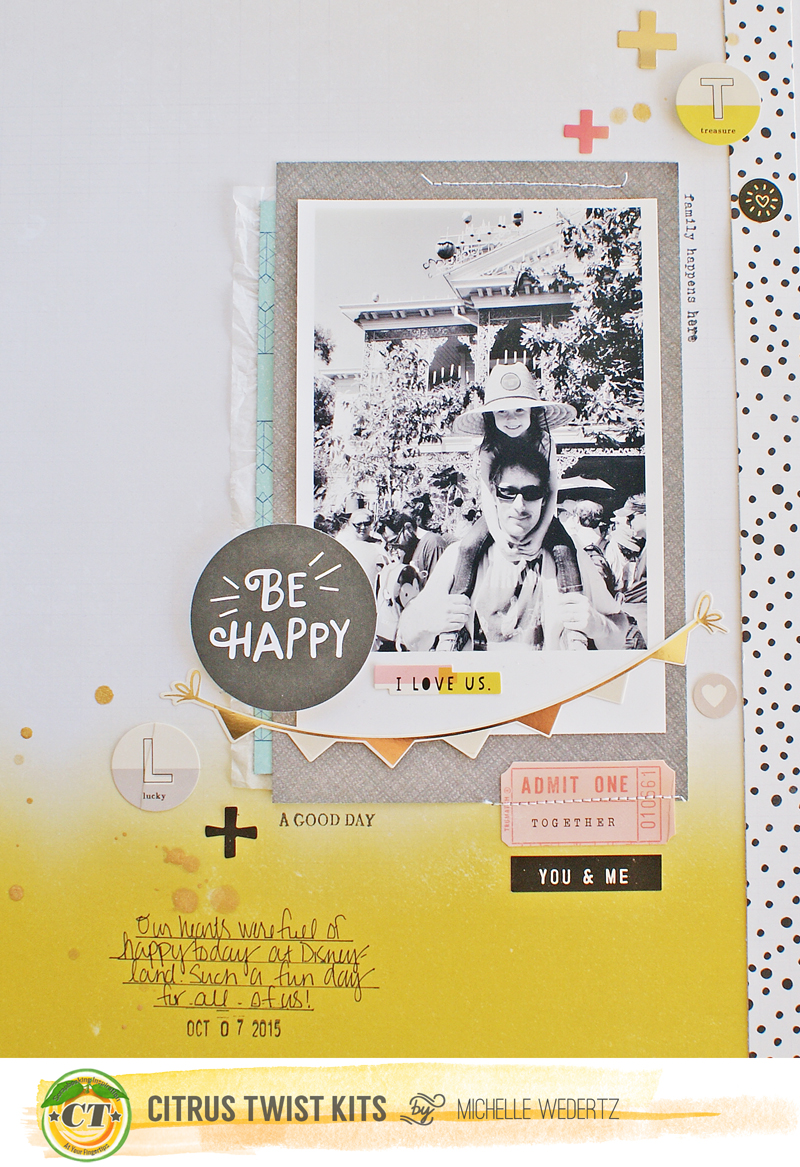
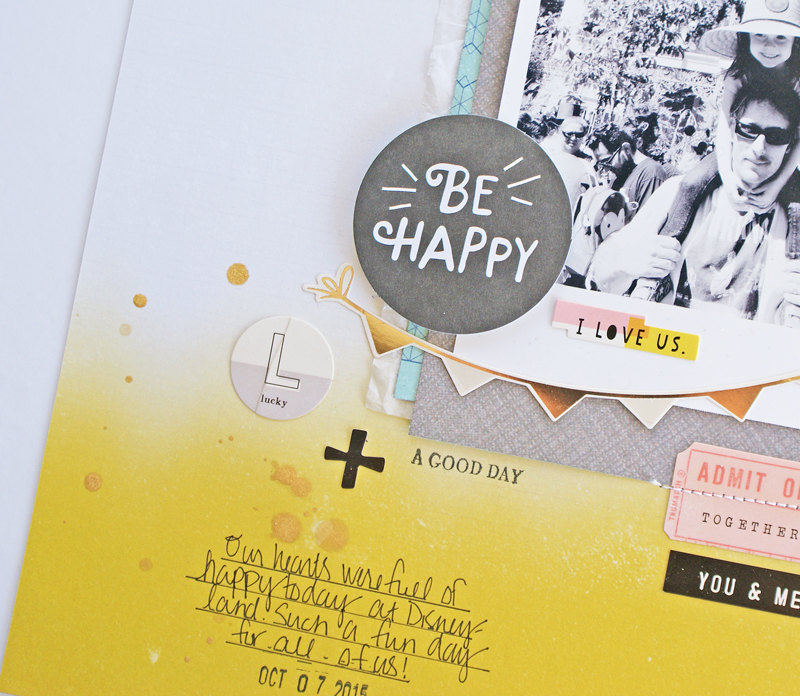
Be Happy

This layout was about simple layers and stickers--which are my most used scrapping supply.

Be Happy 2

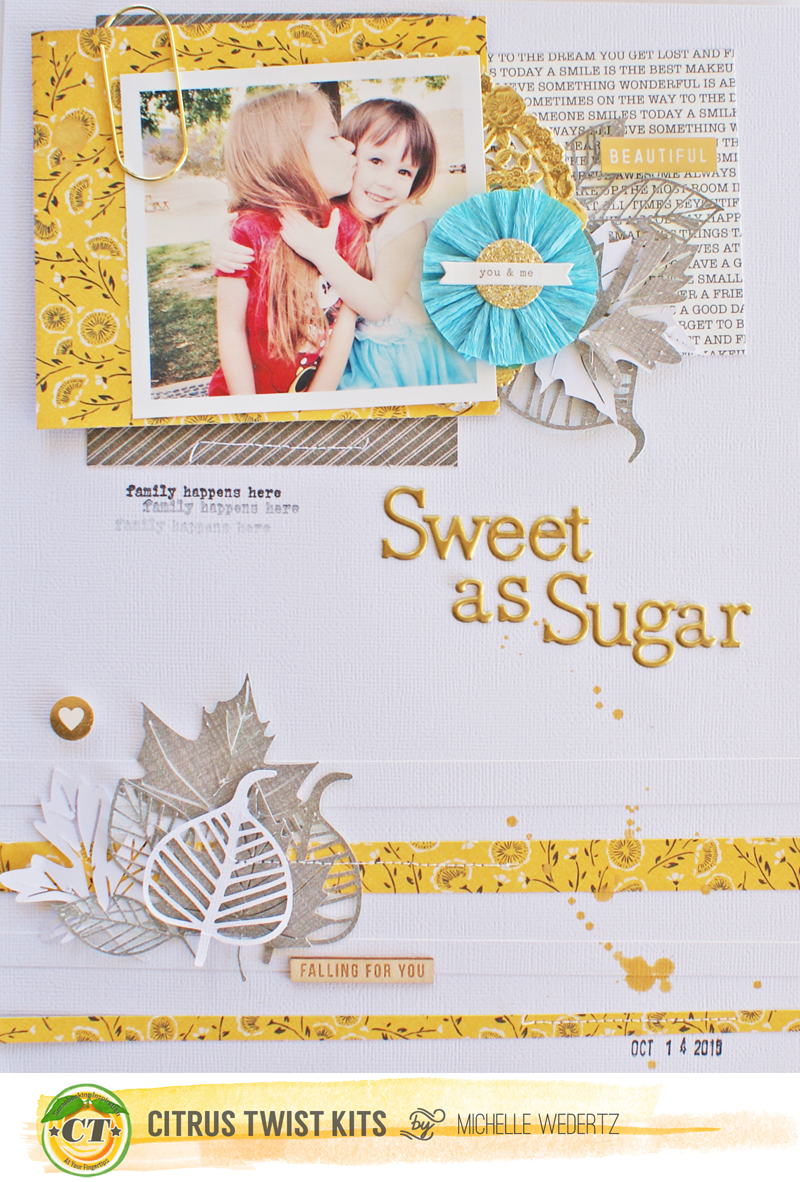
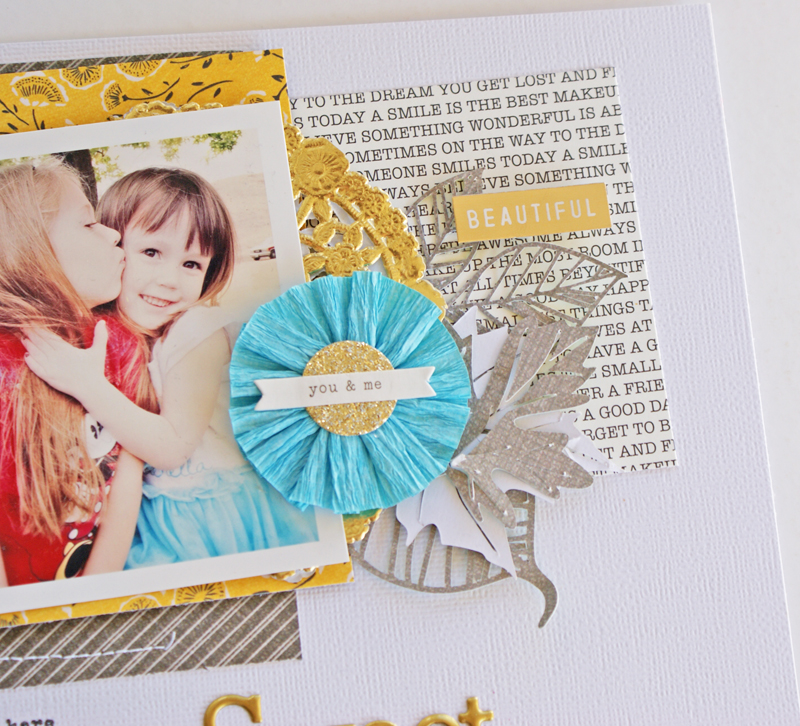
There is a little bit of all the kits in this next one, except for the paper clip which is from an older kit. The yellow paisleyish patterned paper is from Basic Grey and I loved it! The yellow gold color is super pretty and made me think of all the Laura Ingalls Wilder books I read growing up!

Sweet As Sugar

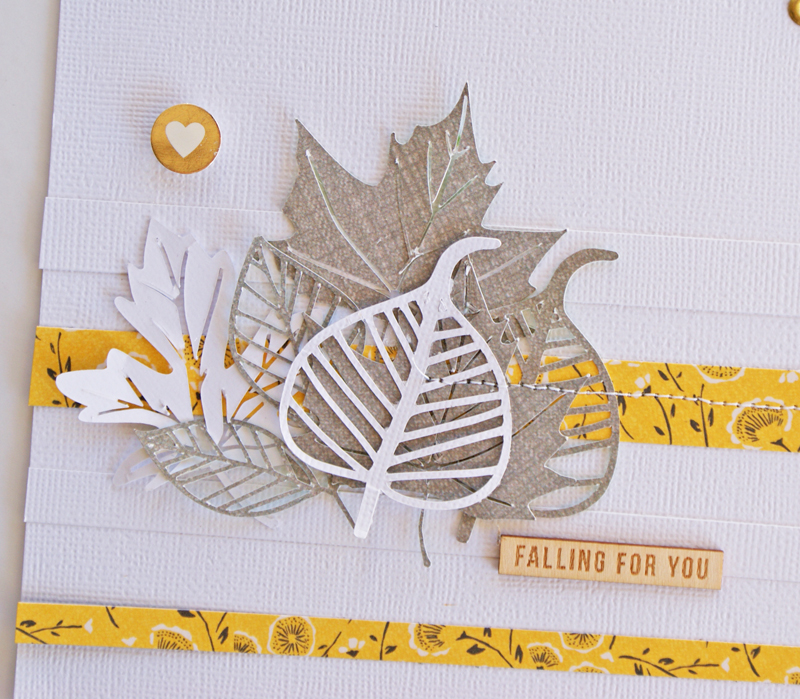
And yes, my obsession with leaf cut files is still going strong.....

Sweet As Sugar 2

Sweet As Sugar 3

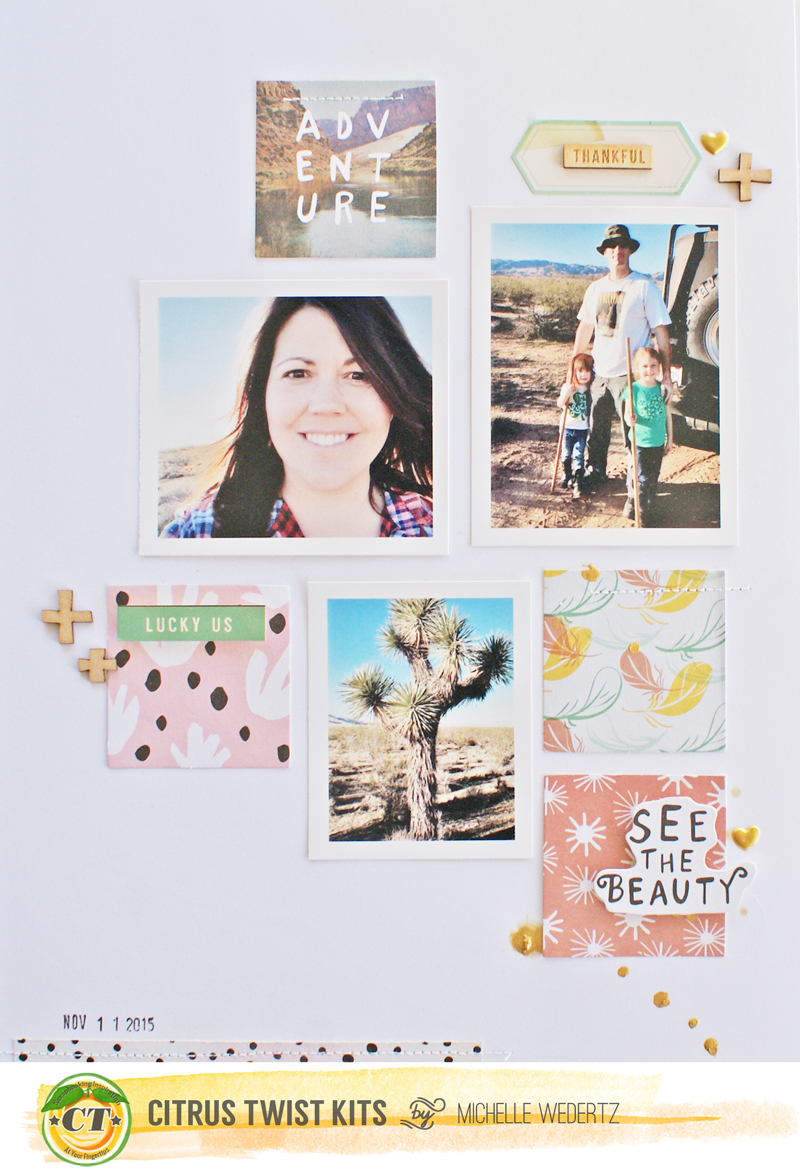
The third and final layout that I am sharing is probably my fave of the bunch and it was the most simple to put together. 

Adventure

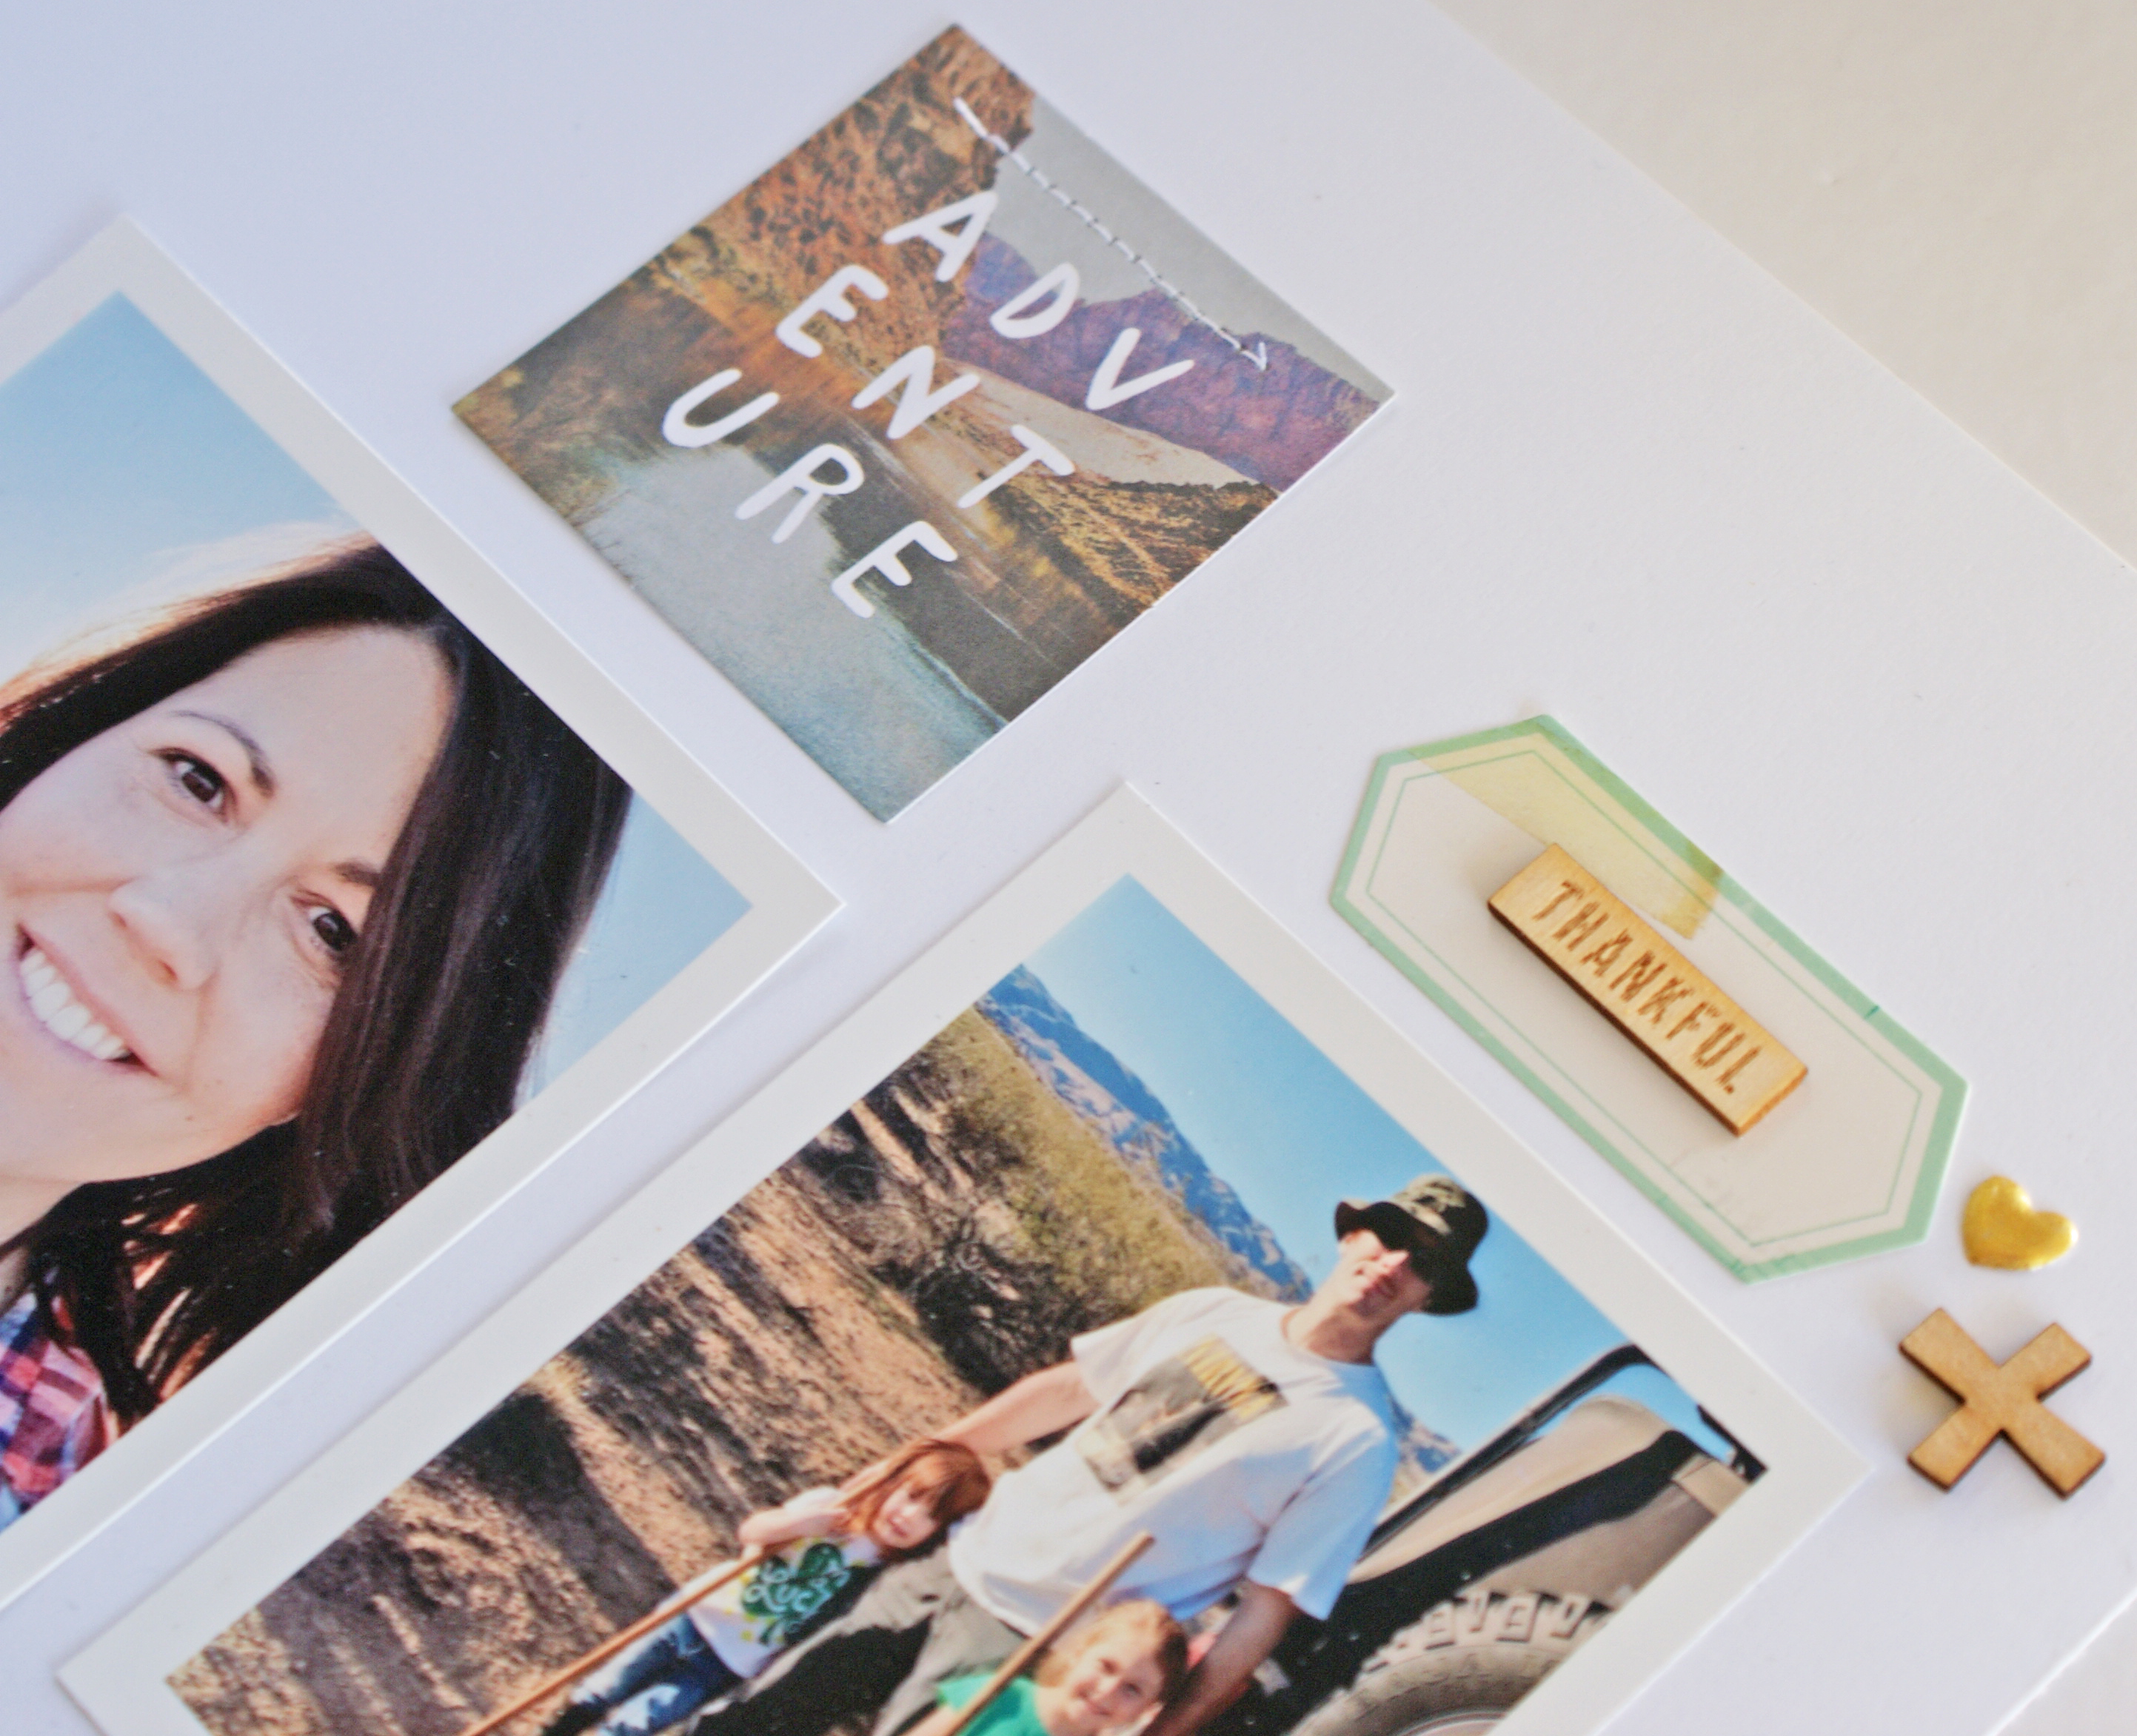
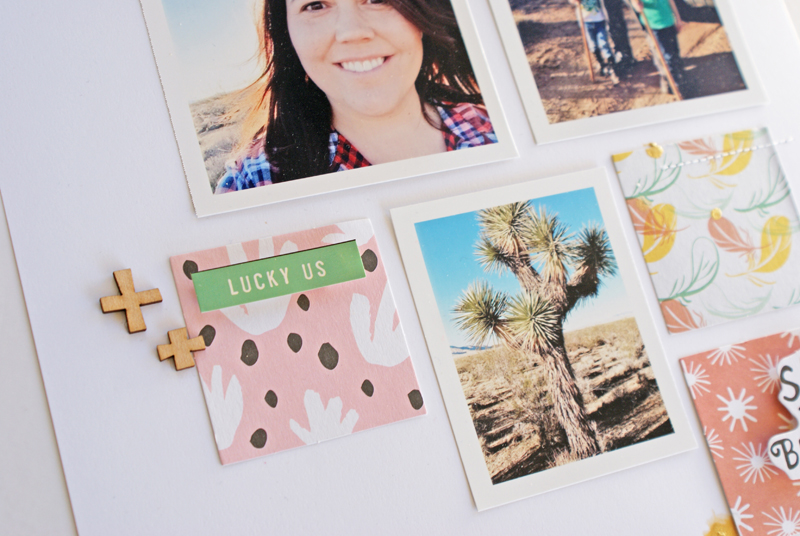
This page was solely inspired by the diecut squares from the new Goldie Collection from Seven Paper. I had them laying out on my work space and as I was looking at them it hit me that they would work perfectly for a recent drive out to the desert that my husband had taken us girls on. I almost stopped mid-layout to jump to this one!

Adventure2 

Adventure3

Well there you have it, my first three projects using the December Kits from Citrus Twist! As always, thanks for stopping by!

Michelle

Thursday, December 3, 2015

The Cut Shoppe & Pinkfresh Studio


This week The Cut Shoppe has teamed up with Pinkfresh Studio for a fun holiday product swap. 


For my project, I decided to take on the task of creating the introduction page to my December Daily album for 2015. The opening pages to my album set the tone of the album and I wanted to make them extra special. It is the first thing you see when opening the album and I want it to be like opening a gift on Christmas morning (at least, that's what I am shooting for!). With the combination of Pinkfresh Studio's Christmas Wishes Collection and the new Home for Christmas cut file from The Cut Shoppe, I had an easy time putting together the beginning of my December album.


As you can see, I created a two page introduction because I had so much that I wanted to incorporate. Instead of limiting myself, I cut down a 6x8 pocket page and filled it with lots of goodies from Pinkfresh to layer over my "main" page: 


I cut the Home for Christmas background out of textured white cardstock and mounted it on top of the bright red patterned paper from Pinkfresh with pop dots. I had originally planned to just lay it flat on top, but the added dimension made a huge visual difference. After that I went to town layering some of my favorite die cuts from the Christmas Wishes collection in the lower right corner.


One of the main reasons I wanted to include a pocket page was so that I could include some of the 2x2 acetate squares from the Christmas Wishes collection. I really like to play around with transparant pockets in my albums because I think it is fun to see a peak at what is comeing next.


This page ended up being a mix of patterned paper, acetate squares, and embellishments.


Now for the really fun part:


In celebration of this fun team up, The Cut Shoppe is giving away a Pinkfresh Studio goodie bag on The Cut Shoppe Blog and Pinkfresh Studio is giving away a $25 Gift Certificate to TCS on their Blog.  ONE winner will be chosen from all of the comments this week, so make sure you comment each day on both Blogs.  Winners will be announced on DECEMBER 6TH! 

Here's a look at all of the new sets, which include the Home for Christmas cut file that I used, that are now available at The Cut Shoppe.

https://www.etsy.com/shop/TheCutShoppe

AND...while you're shopping, use our month long Discount Code to save 31% off of your purchase!  Yay! We're passing on savings to you all month long, as our Christmas gift to all of our awesome readers!  


Thanks for stopping by today!

Michelle


Tuesday, December 1, 2015

Gossamer Blue: December Reveal

Hi guys! Today's blog post is all about the December Kits from Gossamer Blue! Yay!

This month the kits really inspired me and I was a happy scrapper as I put together new layouts use the lovely mix of products that include the newest products from Crate Paper, Pink Paislee, and Seven Paper (aka Studio Calico).

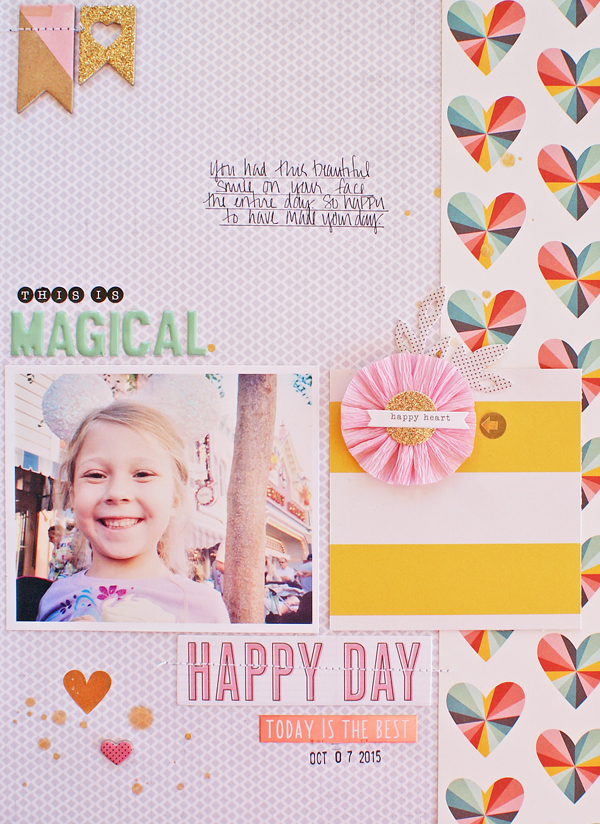
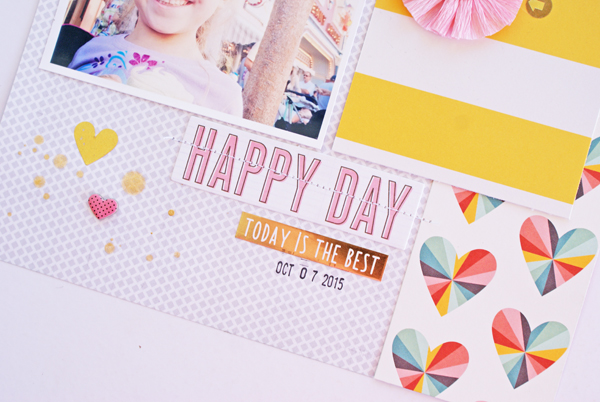
First up is layout featuring a super happy girl standing on Main Street in Disneyland. This was one of my fave photos of the day and that meant I had a little anxiety about creating a layout that really complimented the photo. With the help of all the beautiful colors in the kits, I gave it my best shot:

This-is-Magical

Seriously, the sheet of heart patterned paper from Seven Paper was one of those where I felt super torn between keeping it whole and saving forever or cutting it up and using everywhere! I chose to cut it up ;).

This is Magical 2

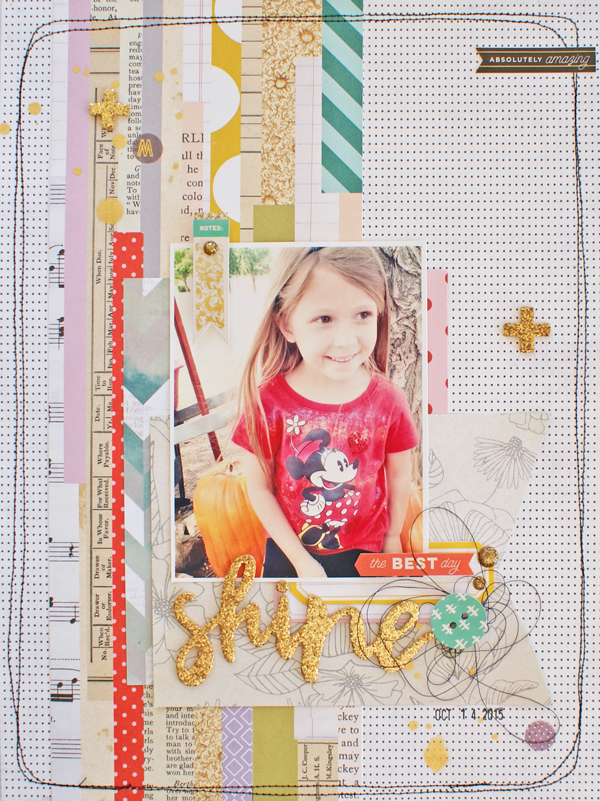
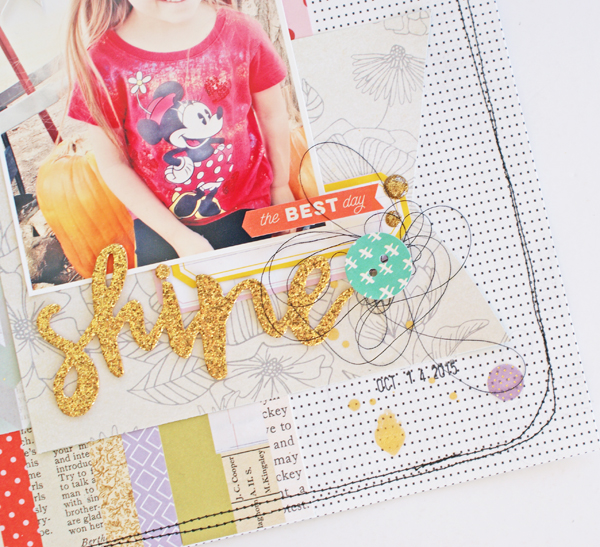
I sort of surprised myself with this next layout. Early on as I was beginning to piece together the basic design, I had the crazy idea to switch up my usual white thread to BLACK and stitch all over. I was super happy how that random thought turned out!

Shine\

I really believe that my change in thread color took this layout to a new level. Funny how such a simple change up can make a whole lot of difference!

Shine3

Well, that's all I am sharing for now, but I won't hold out on you too long! If you want to see a sneak peak of my other projects as well as check out the rest of the design team's work, you can head on over to the Gossamer Blue Gallery where there is loads of inspiration! 

Wishing you a great day!

Michelle

Saturday, November 28, 2015

The Cut Shoppe: Thankful for You

Often times the fall season gets a little rushed for me as we all head towards the big Christmas holiday, but this year I have managed to keep my excitement for fall scrapping strong. Yay! And this is totally great for me--I love the fall season and all of the fall themes and photos that it brings.

My layout today is an example of all that I love about fall--the colors, the falling leaves, and the sense of gratitude and thankfulness that is forefront in my mind during this time of year. Luckily, The Cut Shoppe has a great variety of cut files to help me tell my autumn stories.

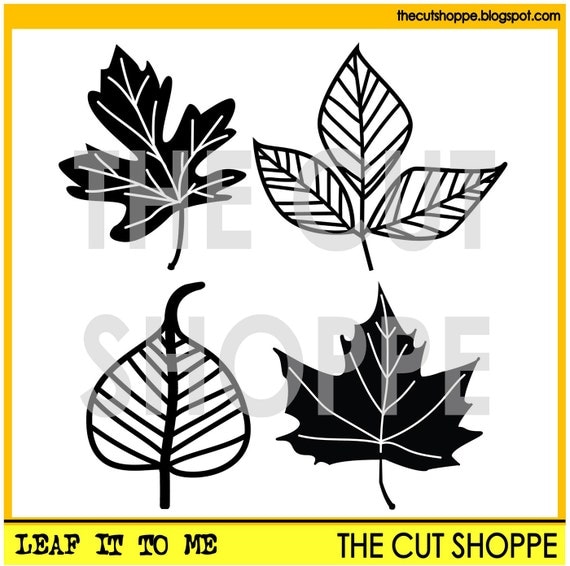
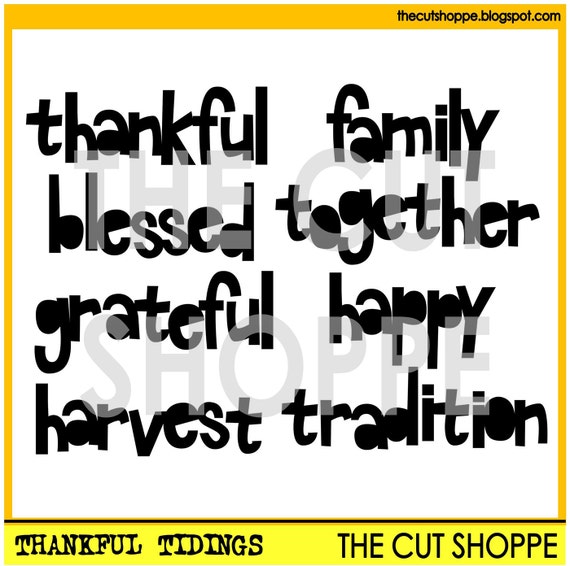
For this particular story I once again turned to my favorite Leaf it to Me cut file and paired it with the new Thankful Tidings cut file:

The Leaf It to Me cut file consists of four leaf images, that can be used on your scrapbooking and papercrafting projects.

The Thankful Tidings cut file includes 8 thankful themed words, that can be used on your scrapbooking and papercrafting projects.


I really love how the Thankful Tidings cut file contains a big variety of traditional fall phrases. There are a total of eight phrases that I could use together or on their own as I did here:

Thankful for You

I built my layout around the "thankful" title: I wanted it to be pretty big and in a bold plum color, so I went ahead with a simple linear design to let the title shine. By layering the leaves in two spots I not only softend the lines, but I worked in some complimentary colors.

ThankfulforYou2

ThankfulforYou3

If your wondering about how I go about placing my leaf "piles," there really isn't any secret! My goal is simply to make them look like they do in real life. I place a group of leaves in the area I want them to go, make sure they are facing every which way, and then "rake" them into a pile. To adhere I simply hold them into place with one hand and dab a liquid glue underneath in a few spots. This keeps them from all laying flat and gives them added dimension. To add some extra hold, you could also stitch over them.

ThankfulforYou4

Don't forget The Cut Shoppe is having a Black Friday Sale right now! You can save 50% off of your purchase which makes it a great time to stock up on your favorite cut files!

https://www.etsy.com/shop/TheCutShoppe

Wishing you a great day!

Michelle


Friday, November 27, 2015

Old & New: Darling

Hi! Today I am sharing the second installment of my "Old & New" Series.

I love watching new scrapbooking supplies role out--nothing gets me more excited than seeing the new releases and then finally getting some of them. The side effect though is that some of my not-so-new supplies get pushed to the back of my mind and they get buried as my brain processes the new "hot" stuff. 
Lately this has been bothering me quite a bit because a lot of my older stuff is still totally awesome and I want to use it. Last month I really wanted to do something about this and brainstormed a bit on how I could go about using my older stash more efficiently.

As I was thinking about possible solutions, I kept coming back to the fact to a few things. First, nothing motivates me more than receiving a box of new goodies--just being honest here. And second, I prefer mixing my products up-it is very rare that I make a layout with only one collection.

One solution I came up with-a solution that is in no way mind blowing-is to mix in my new products with my older ones. Wow. I'm a real genious, right?? Ha ha. Well, this is at least something I haven't done in a really long time, so I committed to the idea and hit my stash.

This month I pulled out my stack of 6x6 Paper Pads, which includes several older collections from Crate Paper, American Crafts, and Studio Calico. My goal here was to find some older papers that I could mix in with the new colors and motifs from the newest collection from Maggie Holmes.


Old and New: Nov.

I went through almost all of my paper pads when I was looking for possible candidates. The few that I automatically placed aside were collections that were more primary color based--I knew they wouldn't be a good match for the turquoises and pinks that I wanted to pull from the Shine collection.  For the remainder of the paper pads, I looked for a certain set of "criteria" which included the following:


  • I wanted a variety of patterns. For example, I knew I was going to use the cool black and white tribal paper from Shine, so I ruled out anything that was too geometric; instead I looked for patterns that I hadn't already pulled--you can see I included a floral, a woodgrain, a script, and a polka dot paper. Also, when picking out paper it is always nice to find a piece that includes all or most of the colors you are wanting to work with, which is why I pulled the floral paper-this is an easy way to tie together a color scheme.

  • I wanted to pull in more pink, so I looked for paper in a variety of pink tones.

  • I pay attention to whether or not the papers are cream or white based. I generally have a hard time mixing the two, occasionally I can make it work, but that isn't too often. 

  • I always welcome additonal neutrals and the dark woodgrain paper fit the bill.

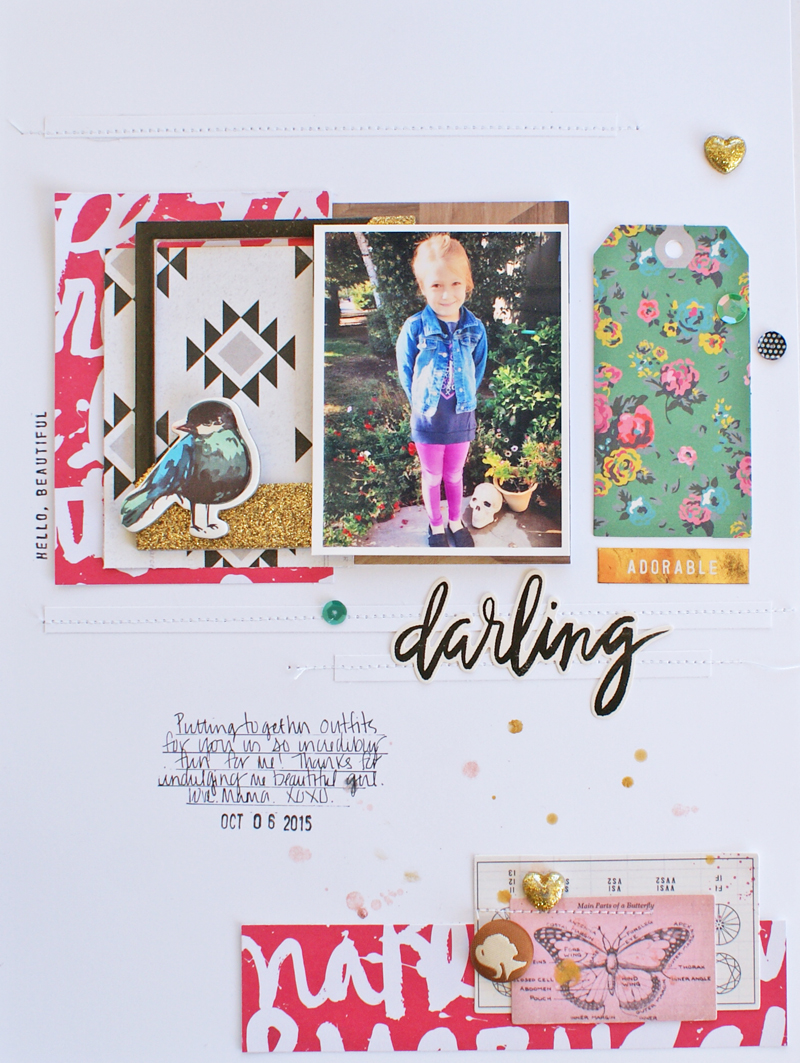
Here is the layout that I made:


Darling

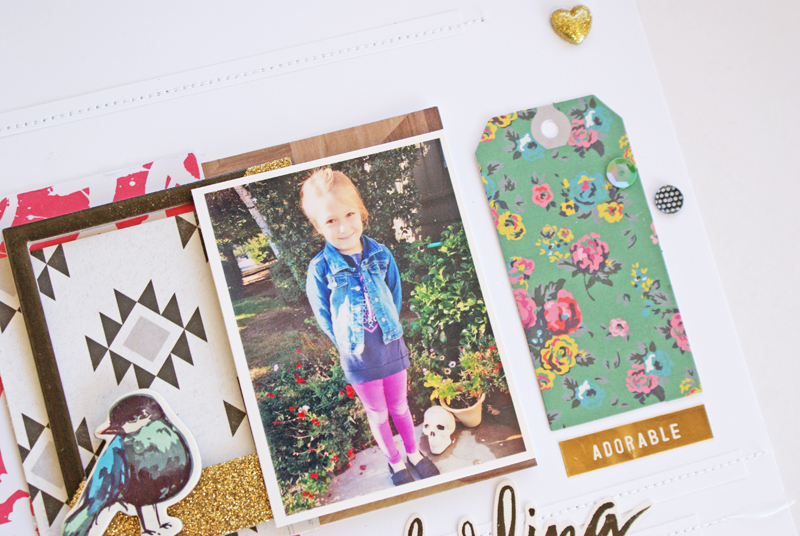
Obvisouly, I did not use all the papers I had pulled out. This is pretty much how I operate all of the time--always pulling out more than I will use (sort of like I buy more than I use!). I ended up really featuring the bright pink script paper from an older SC line and complimenting it with the wood grain paper and the new tribal paper from Shine. Including the tag created enough contrast color wise that I didn't need to really add in any more paper.

Darling 2

In the end, I used up only two pieces of 6x6 patterned paper--not a whole lot in the scheme of things, but it felt good to at least put those two to use. Upon reflecting on this project and my goal, I am thinking that maybe another solution to the stack of paperpads is in order. Maybe I can use them to cut diecuts--shapes and titles-for my projects--maybe channel my inner Paige Evans?  Or do I need to place them more prominently in my space so I can see them? Any other solutions that you can think of or do I just need to stop buying paper pads?? 

Wishing you a great day and as ALWAYS, thank you so much for stopping by!

Michelle