Monday, July 28, 2014

Glitz Design: Sparkle & Shine

One of my favorite and most used scrapbooking supply today is stickers, which actually suprises me a bit since I had a sticker "phobia" when I first started scrapping.  Now though, I am always reaching for them, especially when a layout calls for some layering. 

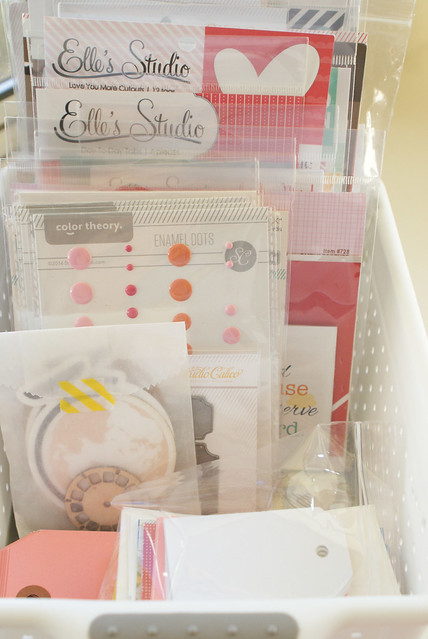
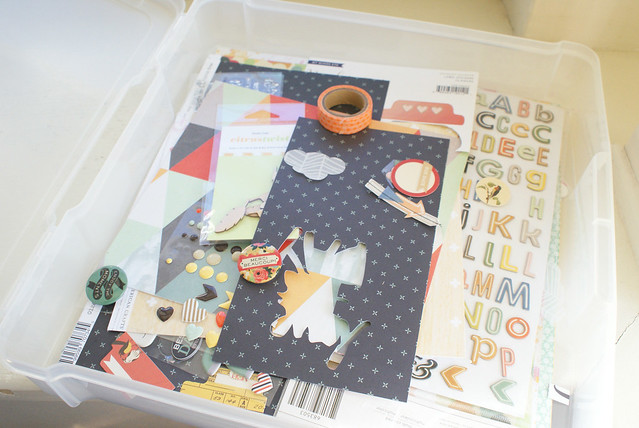
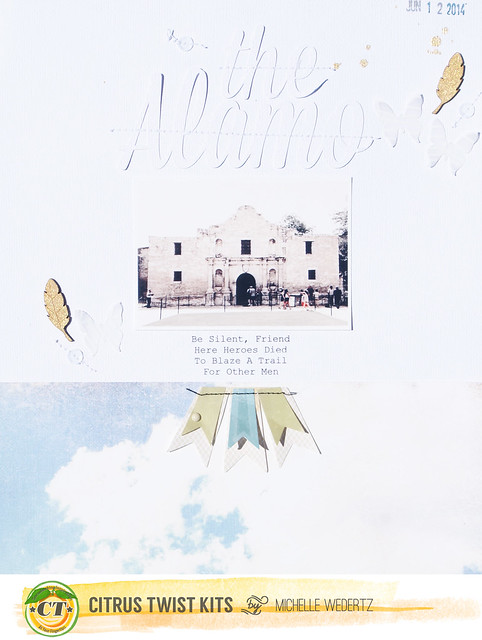
One of the great things about Glitz, is that the products work very well together and I can create a unique look to my projects.  For Hello Summer, I grabbed the sticker sheets from "Brightside," "77," and "Felicity," along with the silver glitter washi tape and set out to create some dimension around my two photos with these embellishments.

July25-MichelleWedertz-1

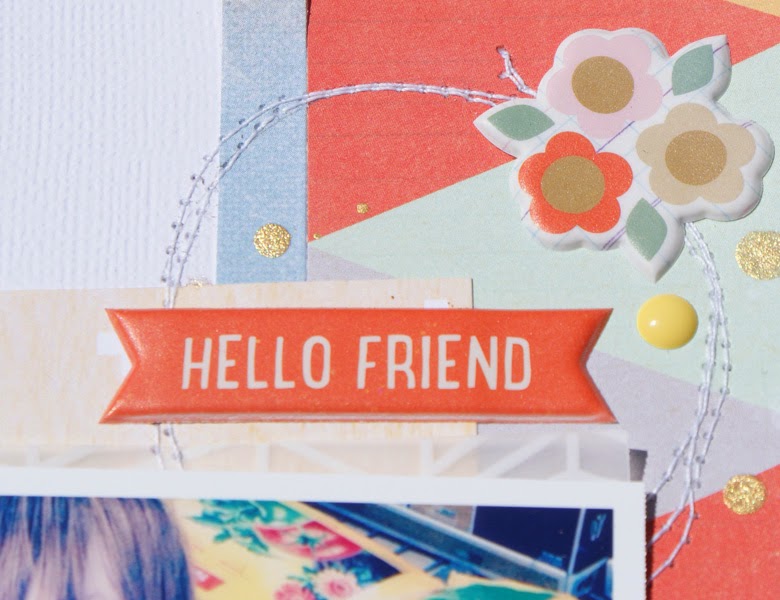
I started out first with the silver glitter washi tape and lined up two pieces on a scrap paper before punching small hearts from it. 

July25-MichelleWedertz-2

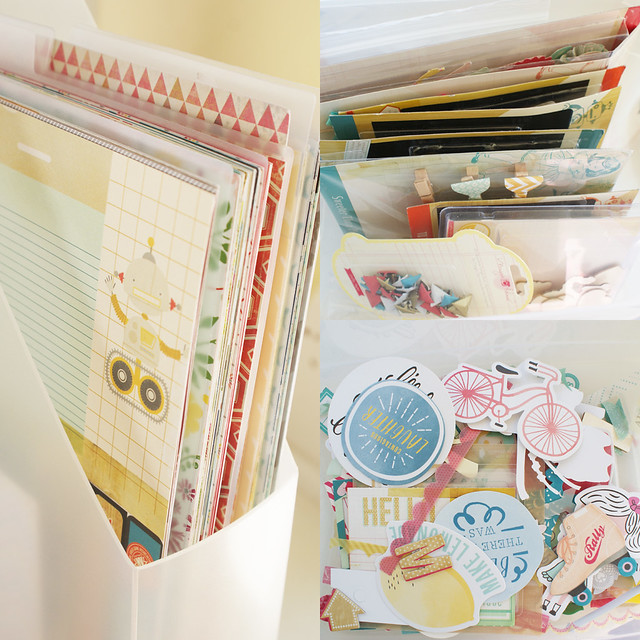
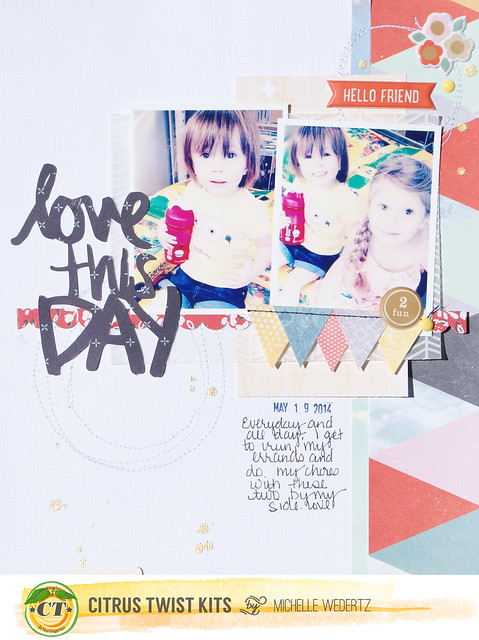
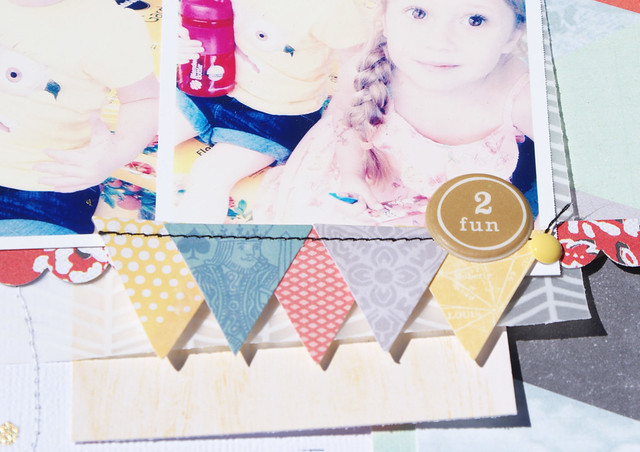
When it comes to layering stickers and other embellishments I don't follow a specific technique, I just play around with them, tucking pieces here and there.  The only sort of rules that I follow is to make sure I have a variety in color, shape, and texture and to always include something in a neutral color.

July25-MichelleWedertz-3

Stickers can be a little bit tricky when it comes to moving them around and not having them stick to each other before.  To combat this, I will often stick them on my clothes first and pull them off a few times to get rid of some of the adhesive or I will add pop dots.  I can always apply glue or sew them down later. 

July25-MichelleWedertz-4

Wishing you a great Friday!

  "Hello Summer" Supplies:
Glitz Design "77" 6x6 Paper Pack
Glitz Design "Brightside" Paper: Floral
Glitz Design "77" Titles & Accents Sticker Sheet
Glitz Design "77" Alphabets & Words Sticker Sheet
Glitz Design "Felicity" Alphas & Accents Sticker Sheet
Glitz Design Washi Tape: Silver Glitter
Other:  cardstock, enamel dots, white thread, ink, spray mist, tag, thread

Saturday, July 19, 2014

In the Studio: Scrap Spaces

Earlier this week, I shared a few pictures of my scrappy place on the Citrus Twist Kit Club blog and thought I would share it here too.

I scrap in the kitchen on an island and my supplies are stored in various spots throughout the house.  I am patiently waiting for one of my three children to volunteer one of their rooms for me, but until then I happily work with what I have!  Here's a glimpse into how I store my scrap supplies.

Crafty Space 9

All of my storage containers are clear, so that I can easily see what is inside.  I recently sorted my paper by color and I am optimistic that this will work out, we'll see. I like to store my embellishments by type.  For example, I like to keep my bulkier items all together in their packaging in one container. In another container, I mix up all of my diecuts and chipboard pieces together so that I can easily sort through and find what I am looking for.

Scrap Space 3
 
This is where I keep what I call my "layering stuff."  Tags, diecuts, labels, doilies, ect.  When I am in the first stages of making a layout I put this basket out so that I can readily pull from it whatever I need. These are my scrapbooking staples, basic items that I can easily match with other products and kits.
 
Scrap Space 6
 
All of my small embellishments are sorted into divided containers.
 
Scrap Space 7
 
Flair and sequins, sorted by color.
 
Scrap Space 8

I store my Citrus Twist Kits in Iris containers.  This makes it super easy for me to keep my kit together and if I need to clear up my space real quick, I can just pop everything into the box, layouts included, and put it away.
 
So there you have it, a peek into how I organize my scrappy space.    


Monday, July 14, 2014

Citrus Twist Sunday Sketch

The Citrus Twist Kit Club offers a sketch EVERY Sunday on the blog and they are awesome!  Seriously, I was a member of the kit for almost two years prior to joining the design team and I always looked forward to Sunday just for their sketches.  This past Sunday was my turn to take on a sketch and here is what I did.  First the sketch....


When working with a sketch, I always keep in mind that it is just a sketch and that I can customize it or change it to meet my own needs.  For instance, instead of confining myself to a 12x12 layout like the sketch, I made an 8.5x11 layout.
 
Love This Day
 
You can see that I shrunk the proportions of the sketch down a little and left a little less white space than the sketch called for.  I also flipped the sketch so that my daughters would be looking inward as opposed to off the page. 
 
Sketch July 13-2
 
 
Since I had chosen to use lots of color in my layout, I decided to cut my title out of a dark navy patterned paper from the July Are We There Yet? Main Kit.  This helped the title to stand out and draw the attention straight to the photos.

 
Sketch July 13-3
 
The stitched borders from the Best of Days Embellishment Kit worked perfectly in place of the banner shown in the sketch.

And now that I have shared my take on this week's sketch, I would love to see yours!  Citrus Twist is offering a $5 gift certificate to the CTK store to one lucky participant in this week's sketch challenge.  To get your name into the drawing, please upload your layout into the CTK gallery and include "Sketch 7/13" in the title. Also, feel free to share your project in other scrapbook galleries and on Instagram (use #citrustwistkits).  It is always so much fun to see what you all are doing with the beautiful kits and honestly, it gives me something to do while sitting through another episode of Peppa Pig :).  

Wishing you the best!

Michelle


Saturday, July 12, 2014

The Rosie Project

During the spring I went on a book buying mini-spree and The Rosie Project by Graeme Simsion was one of lucky books that made it into my shopping cart. 

Untitled
 
The Rosie Project is a romantic comedy. In the story we meet Don Tillman, a brilliant yet very socially awkard professor who sets out, in a very scientific manner, to find the "perfect wife." When he meets Rosie, who absolutely lacks all the qualities he deems a "perfect wife" should possess, his life is turned upside down and logic is thrown out the window.  Think Penny and Sheldon from The Big Bang Theory. Without Leonard.  And a little bit more hardcore. Ha.

Absolutely enjoyed reading this book.  Don Tillman is a funny, delightful character.  Very honest and hilarious. 

Michelle


Thursday, July 10, 2014

Glitz: Day-to-Day

Hello!  On Tuesday my first post on the Glitz Design blog went live!  Here is a look at what I did with a focus on scrapping the day-to-day. 
 
Capturing daily life photos has become a great priority to me. I am well aware that time does indeed "fly by" and taking the time to photograph and document the every day moments have become my favorite memories to scrapbook. I still love to scrap the big events, but I find that the moments in between are what I treasure the most. Luckily, with the convenience of a camera phone, Instagram, and apps galore, capturing daily life is easy and fun.
One way in which I document my day-to-day pictures is through traditional scrapbooking.
 
July8-MichelleWedertz-1

Here, I printed out two Instagram photos of my daughter playing hide-and-seek and paired them with the bright colors of both Brightside and Felicity to put together an 8.5x11 layout.
 
 
SONY DSC

To soften the impact of the bright yellow and pink, I layered my papers with white cardstock and a neutral grey patterned paper. The silver glitter tape adds interest to the layout without overwhelming and white machine stitching gives the layout a little bit more texture.
 
 
SONY DSC
 
When scrapbooking pictures of daily life, I always try to ask myself "What is the significance of this particular moment?" and let my answer guide my journaling. Certainly, when I saw these two pictures of my daughter I thought that they were were super cute, but that was not necessarily the story I wanted to tell here. What made these meaningful and important to me, were that they were a reminder to myself that even though my job as a stay-at-home mom means lots of chores and cleaning and doing....my day is also full of these really fun, loving, and often random moments that I am so thankful for.

For more inspiration using Glitz Design products, you can visit their blog here
 
Wishing you a great day!

Tuesday, July 8, 2014

Best Ever

A few weeks ago, Shimelle hosted a weekend full of challenges and I managed to participate in one of them! 

I went for a sketch because I had just finished several layouts for deadlines and I needed a mental break.  You can see the sketch here.


It's funny now that I am looking back, that I picked a sketch that most resembled my own style.  Absolutely nothing wrong with staying in your comfort zone!


I will say that after finishing this layout I felt good.  Scrapbooking is my thing and I would even go on to say that it is my form of therapy....that I need everyday. Ha.
 
Wishing you the best day ever!
 
Michelle

Saturday, July 5, 2014

Citrus Twist July Reveal

Happy July 5th!  Today is Reveal Day at Citrus Twist!!  The July kits have been a blast to work with and I have been so anxious to share what I have created so far.

I worked with both the July Main Kit and the Embellishment Kit and both are featured on each layout.

Trium


Alamo-CT

 
Love This Day
 
Please head over to the Citrus Twist blog to see all the beautiful kits and remember, Citrus Twist is currently running two special offers for both New and Current subscribers!
 
Michelle

Friday, July 4, 2014

CCG #251

Color Combos Galore is up with a new release and I would love to share my take on the challenge as a designer on the team.

First, a little bit about this fun paper crafting challenge blog . Color Combos Galore is a weekly color challenge blog....with a twist! CCG takes an Inspiration Photo, a Color Combo, and a Designer's Challenge and puts it all in one inspiration board. To play along, combine all 5 colors and one Inspiration Challenge.

Here is Inspiration Board #251......


And here is my layout....


My focus for this challenge was to use shaped labels.  I found a label file that I liked and cut it out with my Silhouette and simply layered it under my photo.  From photo #2, I drew inspiration from  the typewriter in two ways.  First, I typed my journaling and second, I made an effort to write more than just my usual one liner ;).  I drew the polka dot pattern from photo #3 and inspired by the lightness of the dress in photo #4, I pleated crete paper using my sewing machine. 


For more inspiration and to play along, head over here to the CCG blog and you could be one of the two winners to recieve this:

 
What a great prize!!  
 

Michelle

Thursday, July 3, 2014

Citrus Twist July Sneaks

Yesterday I shared my first tutorial for Citrus Twist Kits and today I would like to share the remainder of my sneaks for the July Kits that will be revealed on July 5th!


Look for the full reveal of Citrus Twist's July Kits on the 5th and in case you did not see yesterday's post, Citrus Twist is running two great promotions for the month of July.  You can see the details here.
 
Michelle


Wednesday, July 2, 2014

Citrus Twist Tutorial

Wow.  When I accepted my design team position at Citrus Twist, I thought I would have a little bit of time to figure out how everything went.  Nope not the case.  First month as a team member and I have the first post of the month.  I was just a little bit nervous! Ha.

So here I am, sharing my first sneak of July's Main and Embellishment Kits with a look at how I created this 8.5 x 11 layout.

Trium


Starbursts can sometimes be a little time consuming, especially when you want to use multiple patterned papers.  Luckily, I recently ran across some advice (that you can find here) that simplified the process.  The basics of this starburst technique is to staple strips of patterned paper together, making you able to then fan the papers out into a desired arrangement without having to painstakingly cut and piece them together.  Since I wanted the starburst to radiate from the photo in two spots, I put together two bundles of paper strips using my standard stapler (I tried this with my Tiny Attacher, but found that the larger staple gave my strips more "mobility.")

Triumph 2

To make this already easy technique even easier, I decided to staple my strips of paper directly onto my background paper where my photo would be placed. I then played around with the arrangment and placed a little bit of glue along the strips to hold them down. Here is what the final placement looked like:

Triumph 1
 
I find that in most cases when layering paper and embellishment over staples, that staples can be a bit bulky.  To offset this, I applied pop dots to the patterned paper that I matted my picture with. 

Tutorial 4

Here are some closeups of the finished layout:

Tutorial 3

Tutorial 2


Sneak peaks of July's kits will continue up until the reveal on July 5th and for this month, Citrus Twist has two special offers going on!  New subscribers to either the Main or Pocket Life Kit will receive a free kit with their first order!  Free kits will only be available while supplies last. so don't wait too long ;).  For all our current subscribers, during the month of July, you can receive a $10 credit to the Citrus Twist Shop for each friend you refer who subscribes to the Main or Pocket Life kit.  To see the details for these great offers and to check out sneaks of July's kits, visit the Citrus Twist Blog!

Michelle