Showing posts with label Crate Paper. Show all posts

Tuesday, July 3, 2018

Stash Busting 2018: Layout 1

The Stash Busting Challenge has proven to be a major motivator and it took me no time at all to make my first layout with the kit. It seems that a kit full of my favorite colors and glittery Thickers is all I need to get going!


Helping me get started in a design direction was a fun challenge over at the Paper Issues Friend Group on Facebook called "What's Going Down?"  The prompt for this challenge was to focus all our attention on the bottom of the page. Easy right?? Well, yes.....and no. LOL. I'm no stranger to designing on the bottom, but leaving the rest of the white space blank was too tough and I just had to have those sequin stars float up!


With this being the inaugural layout for the challenge, I wanted to include as much as I could from the kit. I used four patterned papers, two specialty papers, diecuts, stickers, a bow clip, and star confetti. I even fussy cut a flower out from a paper! What?!  


The best thing about putting this layout together though, was that I was playing with product that had been hibernating away in Iris boxes. I'm always excited about the latest and greatest, but working with this older product didn't feel any different than when I create with brand new supplies. Now that's something to think about...…

Michelle

Tuesday, June 26, 2018

Stash-Busting Challenge 2018

This past year has been pretty hard on my creativity. With the addition of several new volunteering roles/responsibilities, my free time/energy took a dive. Like a nose dive. Yikes. Now a year has past and hopefully I have learned a few lessons about volunteering and setting boundaries.

One of the things I missed this past year was participating in this wonderful crafting community. I still did my design team work and checked in on IG, but that just wasn't enough. I recognized a long time ago that this community is good for me and I need to get back to being an active part of it.

So today, my first day blogging since 2017, I want to share a super fun challenge that has me really excited! The challenge is Jill Sprott's "Stash-Busting Challenge 2018!"  The basic run down of the challenge is that you create a kit based off of a list of contents and create at least 3 projects with it. The challenge runs from June through July and we are encouraged to share our kits, projects, and enthusiasm wherever we can. Like Jill, I am going to be sharing my energy for this project here at the blog and on IG (my username is @michellewedertz.)

Now that I've got the basics out of the way, here's the kit that I pulled together:


This kit is full of my faves: the colors, manufactures, textures...I love it! It felt so nice to pull out my Iris boxes from under my bed and sift through all of the product. I am pretty regular about purging my stash, so what I still have I absolutely love for one reason or another and I felt like I was in crafty heaven looking through it all.


 Here's the list of contents:

  1. Eight pieces of patterned paper scraps, four specialty paper/"other" paper scraps, and two complete/unused sheets of patterned paper.  I went with a mix of Crate Paper, Pink Fresh Studio, and Dear Lizzy for my papers. My specialty papers are from Echo Park, Crate Paper, and Studio Calico and include vellum and gold/silver foil.
  2. No more than one yard of ribbon/trim. I pulled out a white pompom trim from a past Felicity Jane Kit. It is not pictured because I forgot to pull it back from the side when I was setting up my photo. 
  3. One sticker sheet or set, with a catch: at least on sticker must be missing from the sheet. I went with a chipboard Thicker set from Dear Lizzy that I have been slowly using.
  4. A pre-2016 alphabet set. This is where I had to fudge a bit, because I could not find a set any older than 2016. When I said I destash regularly, I meant it--the hoarding gene is not that strong in this one! I ended up picking out my favorite Thicker set for this one--a gold sparkly Thicker set-from 2016.
  5. One opened package of scrappy product. I chose a package of ephemera from Pink Fresh Studio that I had hanging around. One of the reasons that I still have it is that it has quite a few labels that I like to use for journaling and thought it would be a good option to have.
  6. One unopened package of scrappy product. I chose another package of ephemera for this one. I like to have lots of ephemera to choose from and felt like this Dear Lizzy set would be a good match for my papers.
  7. One roll of tape or pad of sticky notes. I went with a washi with gold foiled hearts. In all honesty, most of my washi tape is used to tape down my stitching on the backside of my projects or used by my daughters to tape their artwork to their walls, so it will be interesting to see if I actually use it for scrapping.
  8. One item or package from a company that no longer makes scrappy products. Again, I had no such thing, so I improvised with an opened package of bowtie clips/sequins from an older Crate Paper collection called "Cute Girl."
  9. Up to ten journaling and/or PL cards/tags. Since I had them in my Iris boxes, I pulled out left over journaling cards that were also from Crate's "Cute Girl" collection. I adored this line from Crate and I will be really happy to put them to use. I also plan on pulling PL cards from my card box as I work through projects.
  10. Three "wild card" items. Include anything you've been wanting to use. I chose a set of chipboard embellishments from Pink Fresh Studio, a sheet of stickers from one of Maggie Holmes' lines, and a new set of sparkly blue Thickers that are not in the picture because I forgot to grab them for the photo.
  11. A nearby item. This was easy. I picked a small container of heart shaped paper clips that I love from a Felicity Jane Kit. They are gold and tiny and cute and I already had them sitting out waiting to be used.

And that's a wrap! My kit is ready to go! Woohoo! Thank you Jill--this was pretty darn fun! 

If you plan on or are already playing along with Jill's Stash-Busting Challenge, I would love to see what you have going! If you are on IG, use the tag #stashbustingchallenge2018 and I will find you! Lol! If you are more of a blogger, drop a link to your post(s) in the comments and I will stop by and see what you have. 

Happy scrapping!

Michelle


Tuesday, March 7, 2017

Seven

Hello and happy Tuesday! Do any of you all have a favorite project or layout that you like to do?  Well I do! My favorite layouts to do are the opening pages to a new album. Let me explain: I keep several albums-a "main" family album, albums for each of my kiddos, and a personal album. The family album and my album all begin with the new year and the kids' albums are organized by year. So each year I have five opportunities to create opening pages and I really look forward to making them.

There is something about a brand new fresh start that just makes me happy. I also like that the opening pages set the tone for the new year as well as serve as sort of a celebration for that particular person. I also use these beginnings to re-evaluate how I am going to document that year. For example, with my oldest daughter I have decided to go ahead a dedicate a certain amount of album space per each month. Since her birth I have filled two albums a year for her and to be quite frank, the amount of albums (so far 12!) is starting to concern me a bit and I thought that it might be worth the effort to try to limit myself to one album for her seventh year. I'm not planning on cutting down on the number of stories that I document, instead I am going to increase my use of pocket pages and limit the traditional style layouts. This way I can get more in in less space. Hopefully.


My opening pages almost always contain a combination of a pocket page and a layout. The pocket page is smaller that the 9x12 layout because I like being able to open the album and see "layers" of layouts and that is what I did with here with Maleia's newest album.


I went with a pastel color scheme to compliment the single photo on the page. As is usual for my pocket pages, I kept the embellishing simple. My last addition to this page was an Avery tab at the bottom.


One of the changes to my plan for her album this year, is to include more typewritten journaling. My goal with this is to get more words into the album. I will often hand write my journaling on a traditional layout, but I am never quite satisfied with my handwriting on journaling cards or labels which translates into less writing in the albums. I think this is because my handwriting isn't quite "clean" enough and doesn't match the simple and neat aesthetic I like my pocket pages to have. The typewriter solves this issue for me.


My traditional 9x12 layout was so much fun to put together and I am really happy with how it turned out. I combined a recent kit from Studio Calico with some of Maggie Holmes' latest collection and came up with a layout that I am quite proud of:


I went for my favorite type of layout: layered with scattered embellishments. I also made sure and used a lot of gold.


Now this might be an entirely weird thing to admit, but up until very recently I could not combine hearts and stars on a page. I don't know where I got it in my head that I could not mix the two, but I think I am finally moving past this little hang up!


Thanks so much for letting me share these pages and my thoughts with you!

Michelle

Friday, January 13, 2017

The Little Things

I seem to go through a lull when it comes to creating projects for my personal album during the late spring and summer and it sure felt great to finally get the urge to make something purely about myself and the things that I like.


I took this photo on the way into the theater to see Fantastic Beasts (which I loved!) and really liked the reds and yellows that I was able to bring out with a filter from the Color Story app. I went ahead and used a recent kit from Studio Calico and combined it with a package of Thickers that I had on my desk. The kit featured a wintery theme, but I felt like since it was almost technically winter, I could get away with documenting a fall moment.


Where I live, fall starts a little later, but I was still surprised to have found the sidewalk covered with leaves in mid-December. It was autumn's last hurrah in my neck of the woods and I was pretty happy to have found such a pretty scene :).

Michelle

Monday, November 28, 2016

Hey Girl

Hello!  Yes, I am still alive and yes, I am still scrapping away! My poor blog. Despite my best intentions, my blogging has slowed way down as I have attempted to compensate for a fuller schedule. Since school resumed mid-August my kiddos' extra-curricular activities have increased and, I am happy to say, I am routinely exercising! These things have cut my free time down a bit and by the end of the day I am usually too exhausted to do any sort of activity that requires my brain! Ha ha.

So with that being said, I am attempting to get back into a blogging routine because I like it and with the return to shorter, colder days and more time being spent inside this is definitely a good time to get back into a somewhat regular blog schedule and with that goal in mind, here is a fun layout that I have really been wanting to share:


This layout was a complete joy to put together. First off, the picture is just so great-Maleia was incredibly happy to be walking in the Halloween Parade at school dressed as Mal from the Descendents and I caught this with my camera. Second, I just loved this cut file from The Cut Shoppe and could not wait to layer it over a misted background. Third, I used a crazy mix of paper here-I used both Doodlebug's Halloween Line and Cute Girl from Crate Paper-and had a fun time mixing the two together to come up with a fun color combination. Finally, it felt so great to reach into my stash of supplies and use some of it up.

One of the challenges that I face when creating layouts for a very themed photo, is creating a layout that is not very themed. I know that might not make sense, but unless it's a Christmas photo, I really feel uncomfortable using themed products. For this layout I felt like I found a good balance between Halloween and non-Halloween product.


Thanks for stopping by today and I am absolutely looking forward to sharing more here on my blog as the year winds down!

Michelle


Thursday, October 6, 2016

In The Scrap: October

Happy October! You know, in August right before the kids were getting ready to head back to school, I was so excited to be getting back into a routine and looking forward to life slowing down a bit after a crazy and fun summer. I must have been delusional when I thought that. Life sped up as opposed to slowed down and here we are in October and my brain is a whirlwind (aka mess) of lists, places to be, things to do.....Let's just say I am soooo ready for winter break!  Ha ha.

My blogging has been one of the victims in all this and well, I made a *list* and have plans to get back to a semi-regular posting schedule, and I thought I would start off the month sharing my take on the most recent scrappy challenge at In The Scrap!


October's challenge is to create a handmade background and the beautiful pictures on the inspiration board are just so, well...inspiring :).  I have long been a big fan of handmade backgrounds, especially those created by artists such as Wilna Furstenberg and Missy Whidden, so I found this challenge to be quite fun. This is what I came up with:


To create my background I used the packaging technique with Heidi Swapp's Color Shine in Coral. It may appear that I went a little heavy with the amount of color I put on, but that is not the case. One of my hangups about applying mixed media is that I can't stand my paper being warped and this technique where I spray the mist onto the packaging and then apply it to my cardstock keeps the warping at a level that I can tolerate. 


I REALLY liked how this layout turned out. From the colors to the papers to all the fun embellishments....it's one of those projects where I keep going back to look at it. 


If you have the time, make sure and head on over to In the Scrap to see what the rest of the design team came up with.  One of the things I really like about "challenges" is that they get you to push your limits or try something new. And it doesn't matter at all whether you go all in or keep it simple like I did. If you do decide to give creating a background a go, tag me on Instagram @michellewedertz. I would LOVE, LOVE to see what you make!

Michelle

P.S. Don't you love the the colors in Maggie Holme's latest collection??  Man, I can't get over the beautiful coral and blue and all the great embellishments!

Monday, March 21, 2016

The Cut Shoppe: Happy Moments

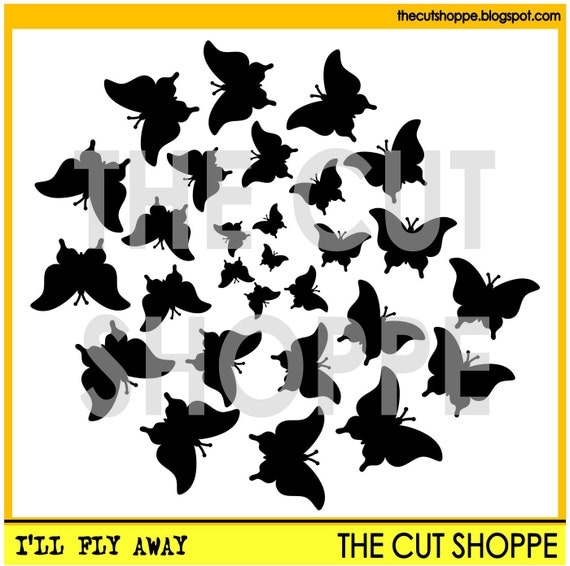
Hello!  Today I am super excited to share my new layout with you featuring the I'll Fly Away cut file from The Cut Shoppe:

The I'll Fly Away cut file is a background, that can be used for your scrapbooking and papercrafting projects.

I would argue that this is indeed, the loveliest cut file ever! Seriously, it's gorgeous. Spring always brings out the butterflies from my supplies and this cut file is one I know I will use again and again. Take a look at my first project made with the I'll Fly Away cut file:


Going into this project, I knew I wanted to move the butterflies off center, to make it look like they were flying off of the page. To back the butterflies, I had pulled out several pieces of patterned papers in a variety of spring colors, but then I laid my eyes on the gorgeous sheet of black floral patterned paper from Maggie Holme's Bloom collection and I knew it was the perfect choice. I will have to admit though, I had a hard time cutting that paper down--it is definitely one of those papers that are almost too perfect to cut up! I am sure glad I did though!


Most of the time, putting together a layout for me is about telling a story, but I will have to admit that this time is was all about the butterflies! Wishing you a super day and looking forward to seeing how you all use this beautiful cut file!

Monday, March 14, 2016

The Cut Shoppe: Happy Story

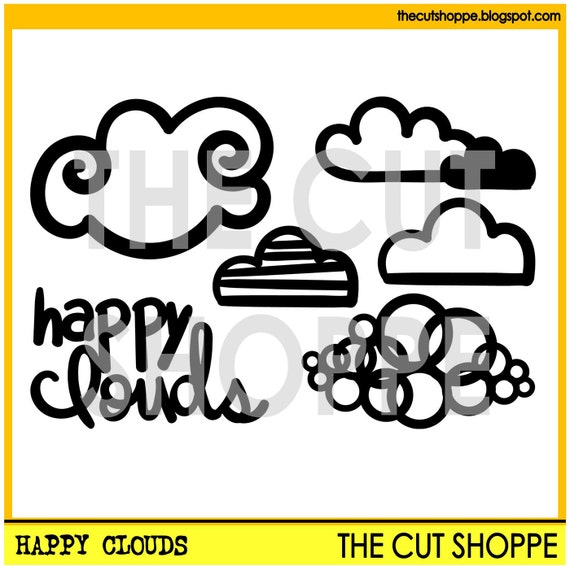
Hello! This past weekend it was my turn on the The Cut Shoppe blog and now I want to share my layout that features the new Happy Clouds cut file here with you!

The Happy Clouds cut file set includes 5 cloud themed images, that can be used on your scrapbooking and papercrafting projects.

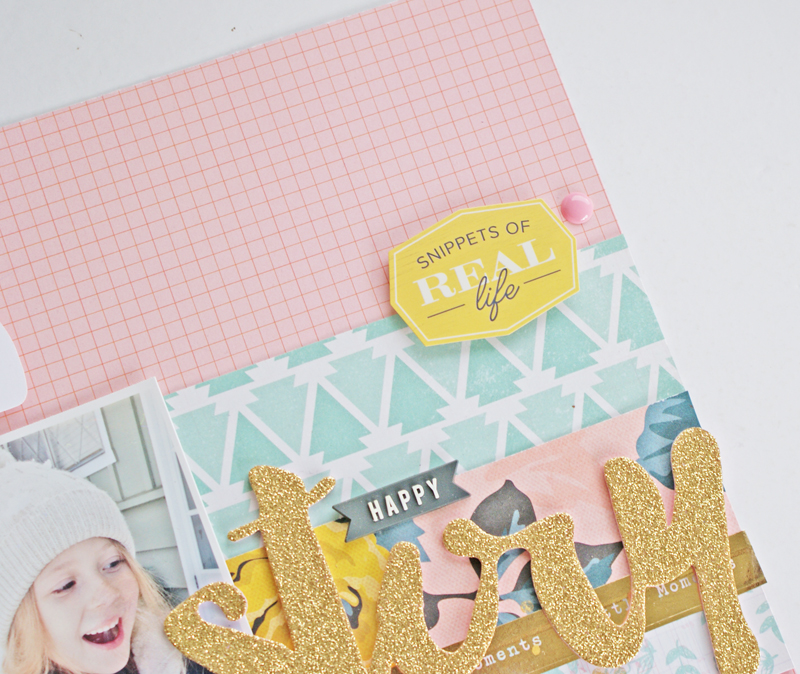
When I went to work on my layout, my intial idea was to back the fun clouds with a variety of patterned paper AND to place everything on top of a colorful background (as opposed to my usual white or neutral color.) Well, I went as far as going with a bolder peachy pink grid background, but could not commit to also backing the clouds with patterned paper. My reason for abandoning this idea was that I already had so much color going on and I felt uncomfortable adding any more. Lately I find myself really pulling to a more simple style of scrapbooking and keeping the clouds as is fell more in line with this approach.


Since I was not going to use additional color to make the clouds pop off the page, I adhered them with pop dots to give them that extra bit of dimension my layout needed.  


Thanks for stopping by today!

Michelle

Tuesday, March 1, 2016

Gossamer Blue: March Reveal

Happy March!  Today is reveal day at Gossamer Blue and I am super excited to share my projects with you this morning!

The March Kits are full of all new releases from Crate Paper, Pink Paislee, and MME! This kit was incredibly motivating and my layouts came together with ease--a sure sign that the kits are great :).

This first layout is a combination of the Main Scrapbook Kit, Add-On #2, and the Main Life Pages Add-On:


If I had to choose a favorite layout from my projects this month, this would be it.  So many things that I love about this layout--the color scheme is just so spring;  the cut file, which is included in March's batch of printables and cut files, is so pretty and delicate; I totally surprised myself by not using any cardstock; and it features my dog Rincon whom I believe to be the coolest dog out there ;).  


For my second layout, I pulled products from both the Main SB Kit and Main Add-On:


I had been hoping that MME's new collection On Trend 2 would make it into the kits and I was not let down! The word "Smile" is a beautiful glassy gold and had me wishing that I several packages of the word phrases and shapes (also from MME.)  


The last project I am sharing today is a match up of the Main SB Kit, the Life Pages Add-On #3, and Add-On #2:


This colors in this kits, as I am sure you can tell, are very springy, but they work well with all subjects including these very wintery pictures of my daughters.


Well have you seen anything that you like?  Personally, I think I hit the jackpot with these kits! It's almost as if I handed Lori (owner of GB) my wish list from CHA and she put it all together for March!

If you have the time, please head on over to the gallery--the projects created by the Design Team are pretty terrific!

Happy crafting!

Michelle


Monday, February 29, 2016

The Cut Shoppe: Hooray

Hello! Today I want to share with you my latest layout using some of the new cut files from The Cut Shoppe!

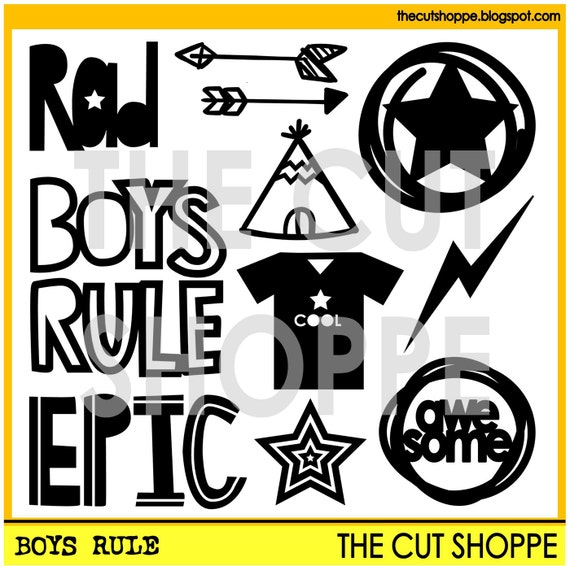
Scrapbooking my teenager can be a little tricky sometimes--he's definitely no longer in the cute little boy stage and I struggle a little when it comes to finding both products and designs that are more reflective of his present age. When the Boys Rule cut file was released, I was so happy to have some super cool designs to use for layouts about my son. The set is definitely versatile and I love that the motifs aren't too age specific.

The Boys Rule cut file set includes 11 boy themed icons, that can be used on your scrapbooking and papercrafting projects.

Here is what I did:


One technique that I haven't really done too much with is backing my cut files with patterned paper and that was something I wanted to try with this layout. I used three circles, backed them with a bright yellow patterned paper, and placed them around the layout in a classic triangle configuration-one by the photo, one by the title, and one by the journaling. The fun cut files move the eye around to all the important elements on my page.


As I was finishing this layout, I thought of another way I could use these on page and I am already itching to get this idea down on paper! Love it when inspiration comes so quickly :).  Now, if I can just get this guy to stop being so busy and let me take some more pictures!

Michelle

Sunday, February 14, 2016

The Cut Shoppe: Love Is All You Need

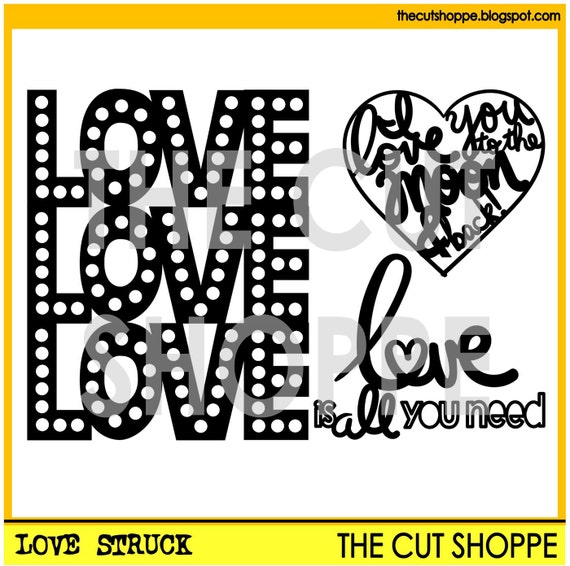
Happy Valentine's Day! In honor of this fun and sweet day, I decided to create a layout focusing on our family's littlest members--Mr. Cuddles and Squeakers! Our two little guys certainly have a place in their hearts for their humans, but the love they have for each other is beyond compare. To help tell this story I used one of The Cut Shoppe's most recent releases-Love Struck.

The Love Struck cut file set includes three love themed images, that can be used for your scrapbooking and papercrafting projects.

For my 6x8 layout, I chose to use the "Love is All You Need" title:


These two guys are seriously the cutest! Whenever they are apart they make all sorts of noises and search everywhere for each other.


Wishing you all the loveliest of days!

Michelle


Wednesday, February 10, 2016

The Cut Shoppe: Feel the Love Blog Hop

Hello and welcome to my stop on The Cut Shoppe's Feel the Love Blog Hop!


The Cut Shoppe is starting off this Valentine's Day Weekend with a fun blog hop full of heartfelt inspiration from the Design Team! In celebration of this lovely holiday, The Cut Shoppe is holding 2 giveaways, giving away a free cut file on The Cut Shoppe Blog, and we also have a discount code for you! That's a whole lot of love going on!

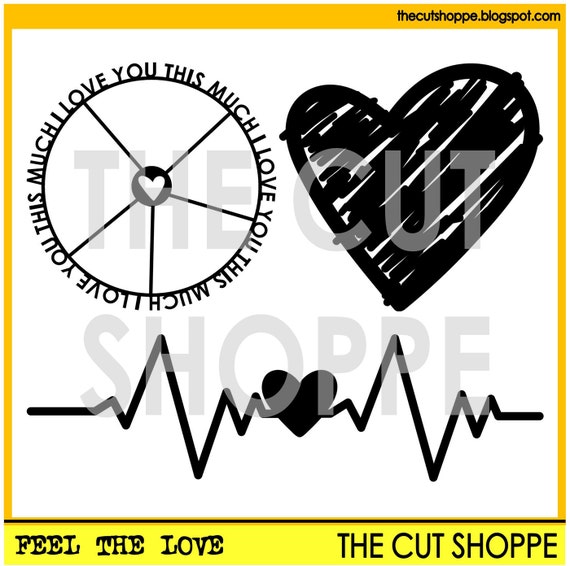
For my project, I chose the love themed Feel the Love cut file and put it to work on an layout documenting my daughter, the artist!


The Feel the Love cut file set includes three loved themed images, that can be used for your scrapbooking and papercrafting projects.

Often times I find myself looking for a bigger element to stand out as the "main" embellishment and thought the heart would work just perfectly.


I really liked how the heart brings the attention straight to my smiling daughter and her work of art.


Now earlier, I mentioned 2 giveaways and here are the details: 

GIVEAWAY #1:  Each Designer participating in the Hop, is giving away one Cut File.  Make sure you visit each Blog and leave a comment for the chance to win.  Winners will be announced on the Designer's Blog on TUESDAY, FEBRUARY 16th, so make sure you check back on their Blogs to see if you're a Winner!  

GIVEAWAY #2:  You can win 14 of your favorite cut files, just by commenting throughout the Hop.  Leave a comment on each Blog, starting with The Cut Shoppe Blog, for the chance to win.  One Winner will be chosen from all of the Blog comments, and announced on The Cut Shoppe Blog on TUESDAY, FEBRUARY 16th.  The Winner will be able to choose 14 cut file sets from The Cut Shoppe Etsy store! 

**For my stop on the Hop, I am giving away the Feel the Love cut file, so make sure and leave me a comment telling me who your valentine is!

Here is a list of the designers (with links!) participating in today's fun:

Michelle Wedertz<---You are here.

Finally, here is the discount code that you can use on your purchase from The Cut Shoppe:


Wishing you the sweetest of days!

Michelle


Thursday, February 4, 2016

Citrus Twist Kit: February Reveal

I had lots of fun watching all the new releases roll out during CHA on Instagram a few weeks ago and boy was I super excited to see some of the things I was drooling over in my box of February Kits from Citrus Twist! Seeing papers and embellishments from the most recent releases from Crate Paper and Pink Paislee sure made my day :).

This month I worked with both the February Main "Stories" Kit and a part of the Embellishment Kit (due to shipping time frames the design team was unable to have the entire kit) and I am so happy (and so nervous because I am totall newbie) to say that I have an unboxing video to share! Yay!


I created layouts in record time this month and this is due entirely to the fact that I was so excited to work with the stuff--nothing gets my scrappy mojo going like a fresh box of brand new goodies!


This is a fave layout simply because I love the story so much! The blues in the kit were such a great compliment to the photo and I had fun adding in a little bit of pink using the cut apart sheet from Maggie Holme's new Bloom line.


For US, I returned to one of my go-to designs and I even pulled out one of my most loved punches to add a little touch of whimsy. (I love saying "whismy!) One of my favorite things to do is bring back an older design or technique and give it a fresh twist with new products.


Again in this third layout, I really went to town with the blues in the kit. I don't know, but blue is just such a fresh color for me right now. I complimented it with the yellow in the kit and more black and white elements.


For my final project this month, I used a 3x4 card from the cut apart sheet I mentioned earlier and paired it with this picture of my daughter after she successfully made it across the monkey bars. For a change, I mix and matched some word elements for my title. 


Well, there you have it my Citrus Twist projects for February! To see more projects made from this month's kits make sure and head on over to the Citrus Twist Gallery or the blog where we share daily shots of inspiration. You can also find the design team's work on Instagram--just search for #citrustwistkits. 

Michelle